We’ve made it really easy for authors to personalize the way their lessons look. Simply upload an image on a course or a lesson level and our platform does the rest. Aesthetics are integral in helping the learner become immersed in the learning experience.
Where can I find background images?
When it comes to choosing images, it’s best to choose one that isn’t too busy as it can distract from the text on the screen.
There are many stock photo sites to choose from, mostly found with a quick google search. One of our favourites is the Pexels website because who doesn’t love a royalty free image?
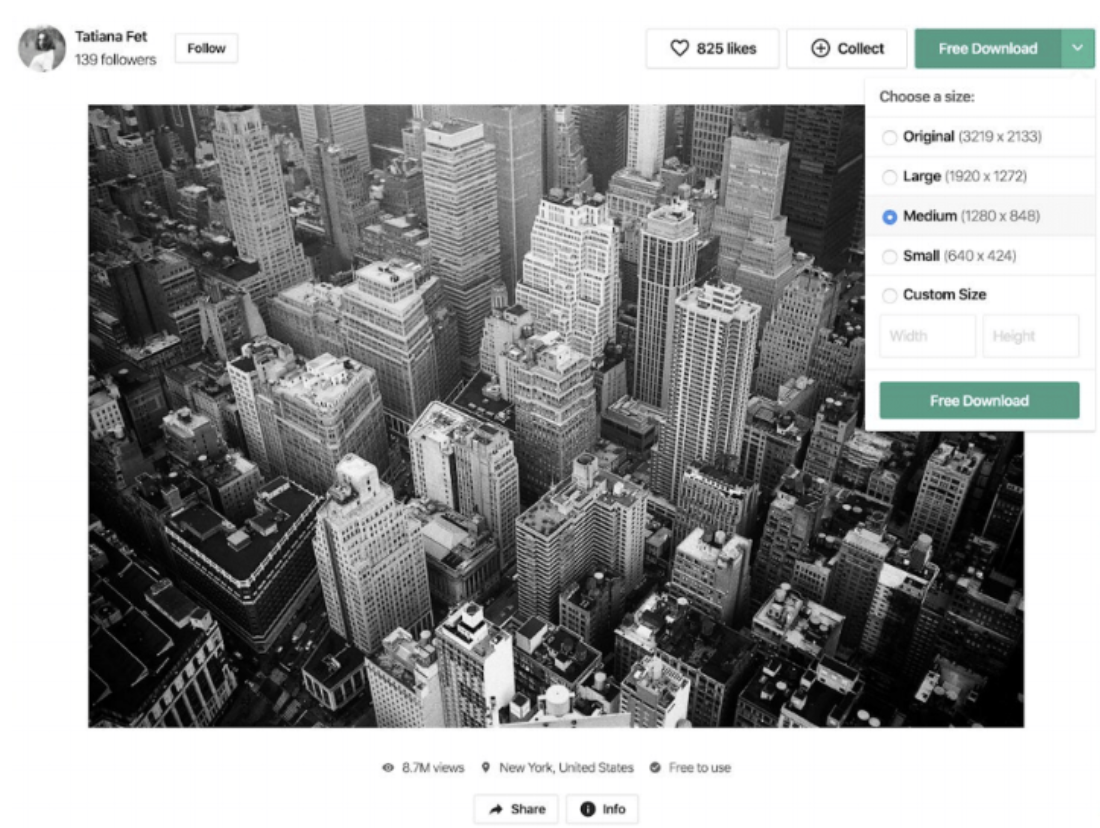
Note: We encourage authors to upload images that have the following dimensions at a minimum: length 1200px & 600px width.
If you use Pexels you can download one that’s medium in size from the dropdown menu. This is the ideal size for background images for EdApp!
Editing your background image
Background can easily be edited by using an image editor of your choice, we recommend professional programs such as Photoshop (a regular choice for us at EdApp), there’s also a number of free online image editors available that allow you to customise your image.
We recommend the following:
- Basic option https://www.canva.com/photo-editor/
- Advanced option https://pixlr.com/x/
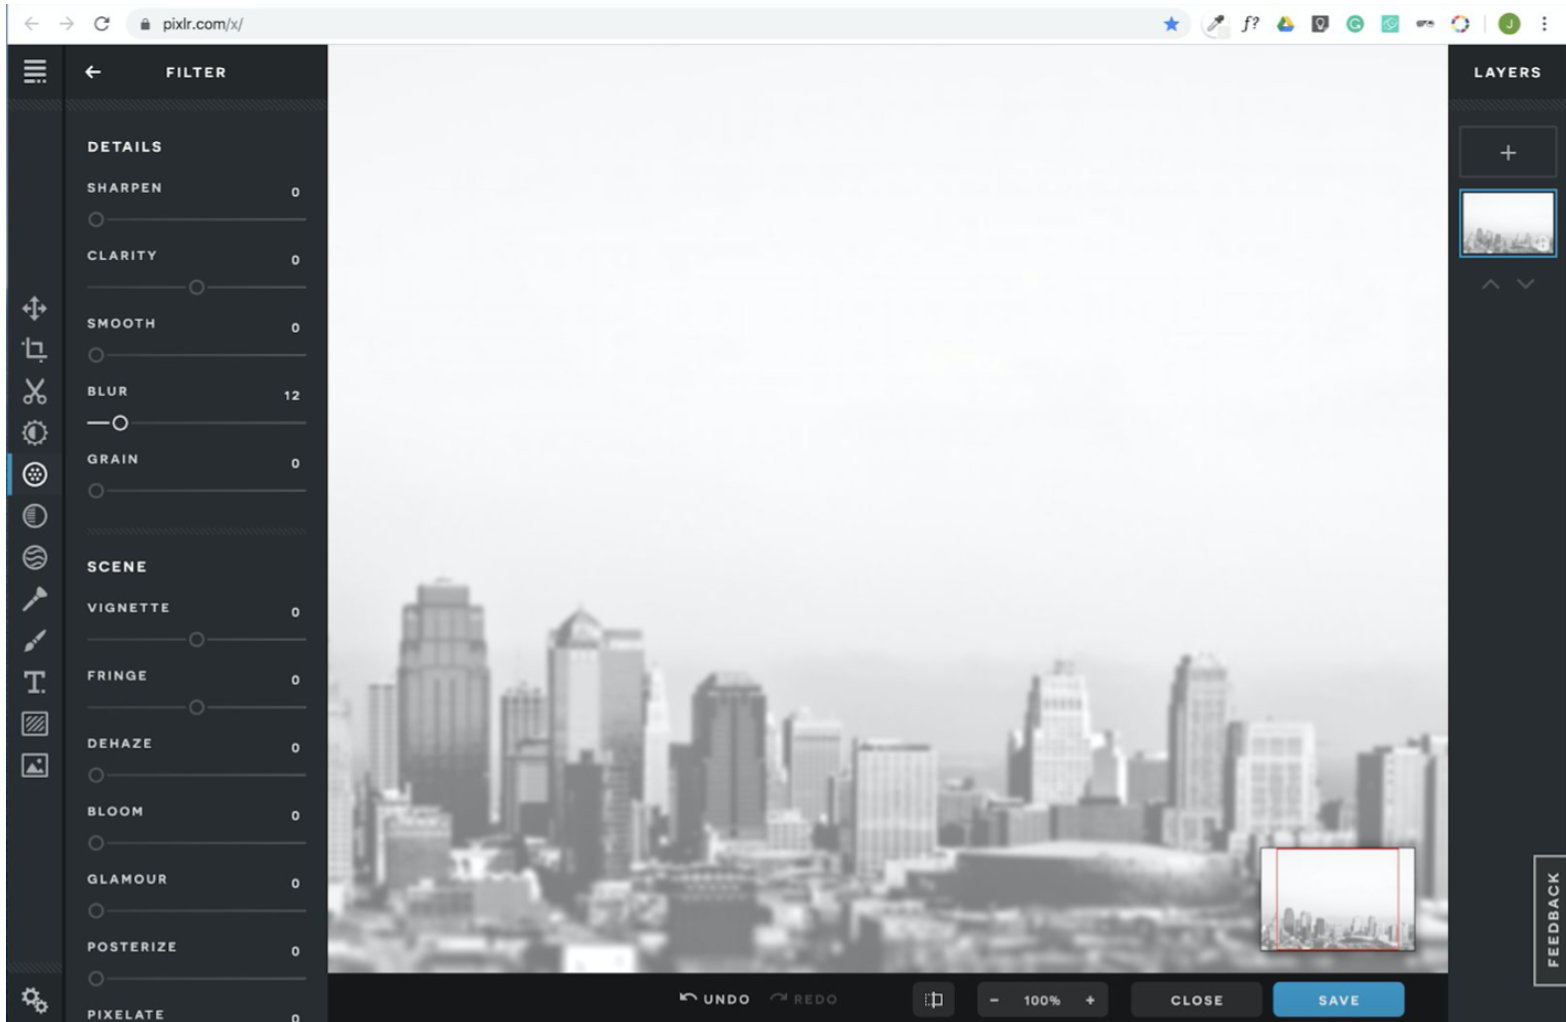
Pixlr has more advanced options and features for editing and customising your images, such as blur and sharpening tools to make your text stand out, which we’ll walk you through a little further down.
Responsive backgrounds
We’ve made it really easy for authors to create stunning lessons with identical background branding across all devices and platforms. When a learner opens up a lesson we automatically resize the image to fit their device.
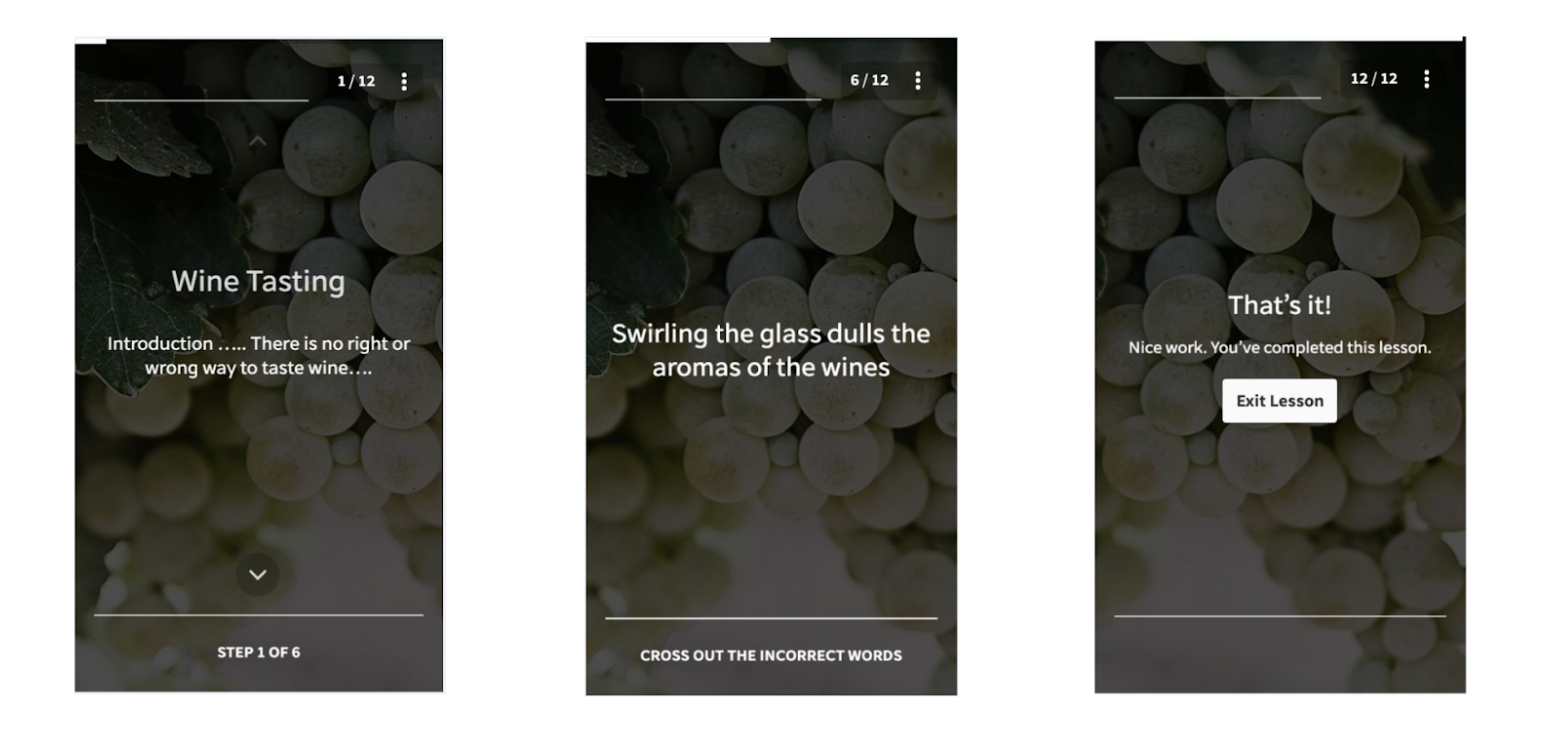
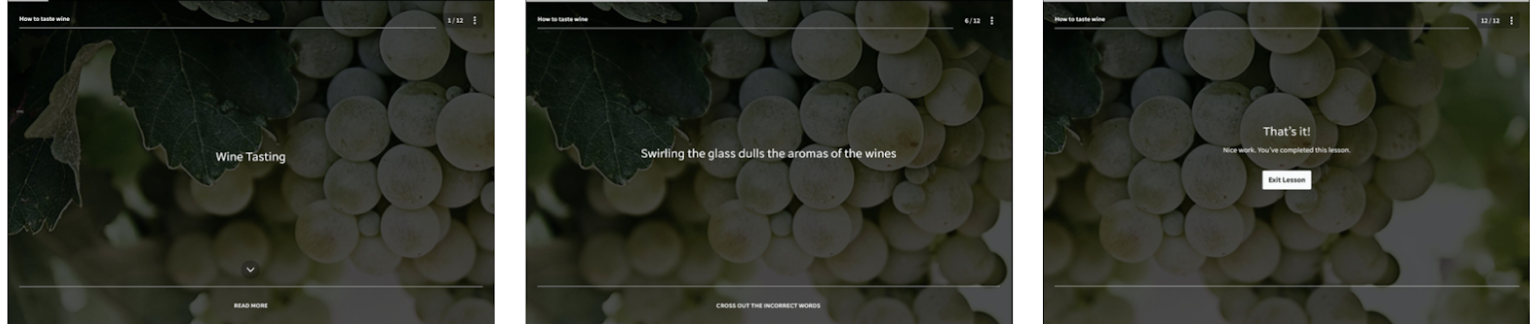
Background “animation” on a mobile device
Notice how the background slowly shifts towards the right hand side of the image as we progress through each slide within the lesson?
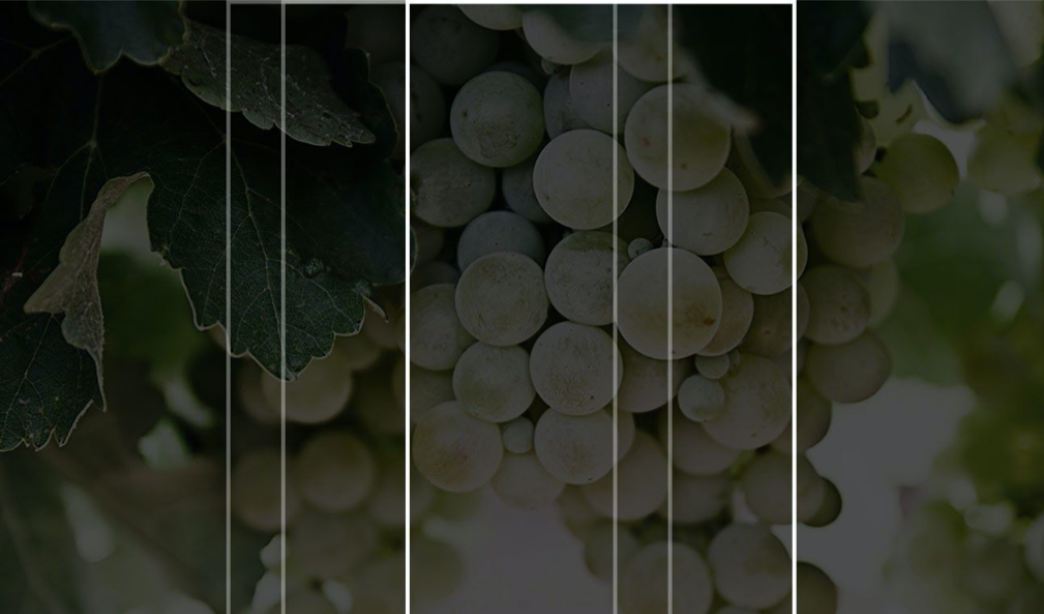
Background “animation” on the web app
The same thing will occur when a learner completes the lesson on a web browser, however, they’ll see a larger section of the entire background.
What does a bad background look like?
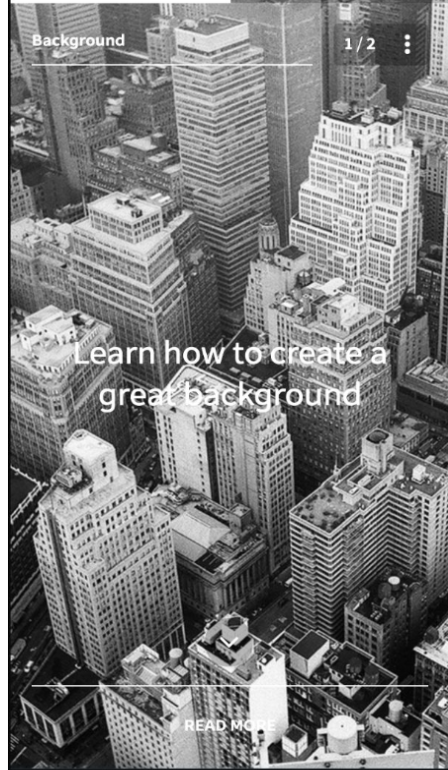
Example 1: A bad background
Too much contrast: The text is hard to read. Even if we change the text to black, it will always clash with the dark and light parts of the building.
Busy picture: Notice we get distracted by all the different buildings in the picture and we lose focus of the text.
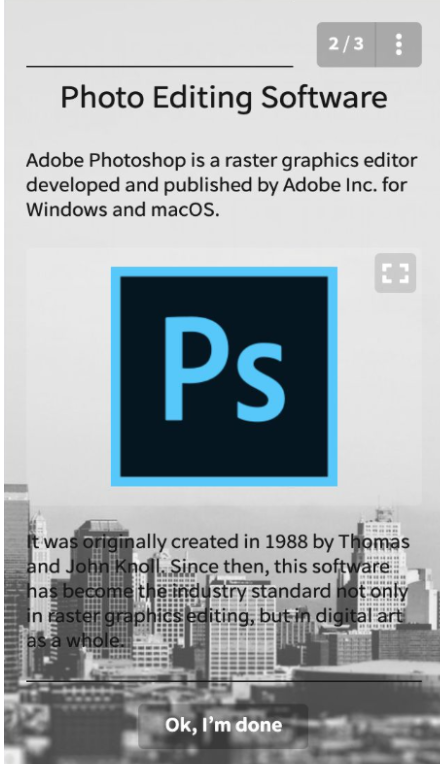
Example 2: A slightly better background
Here’s a similar image but the composition includes more white space, which allows our eyes to focus on the first paragraph. But notice how the text at the bottom is still a little hard to read due to the contrast in the buildings.
Image editing
Learn how to darken your background images
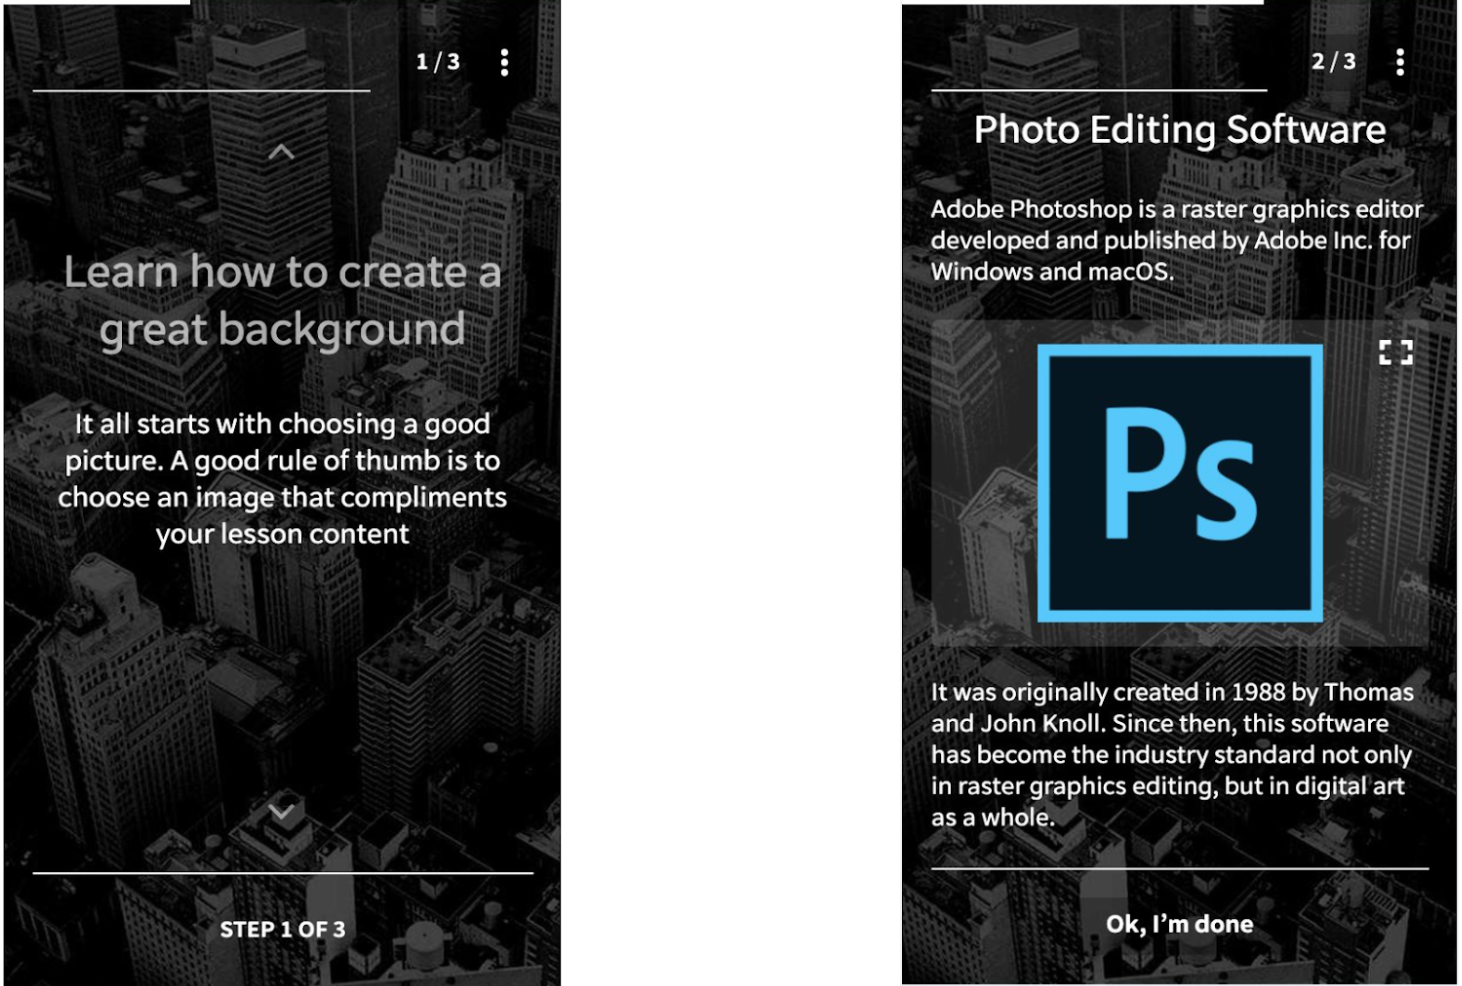
We’ve taken the background in example 1 and darkened it. Notice how the text on both slides immediately becomes easier to read. This is really easy to do and achievable with our steps below.
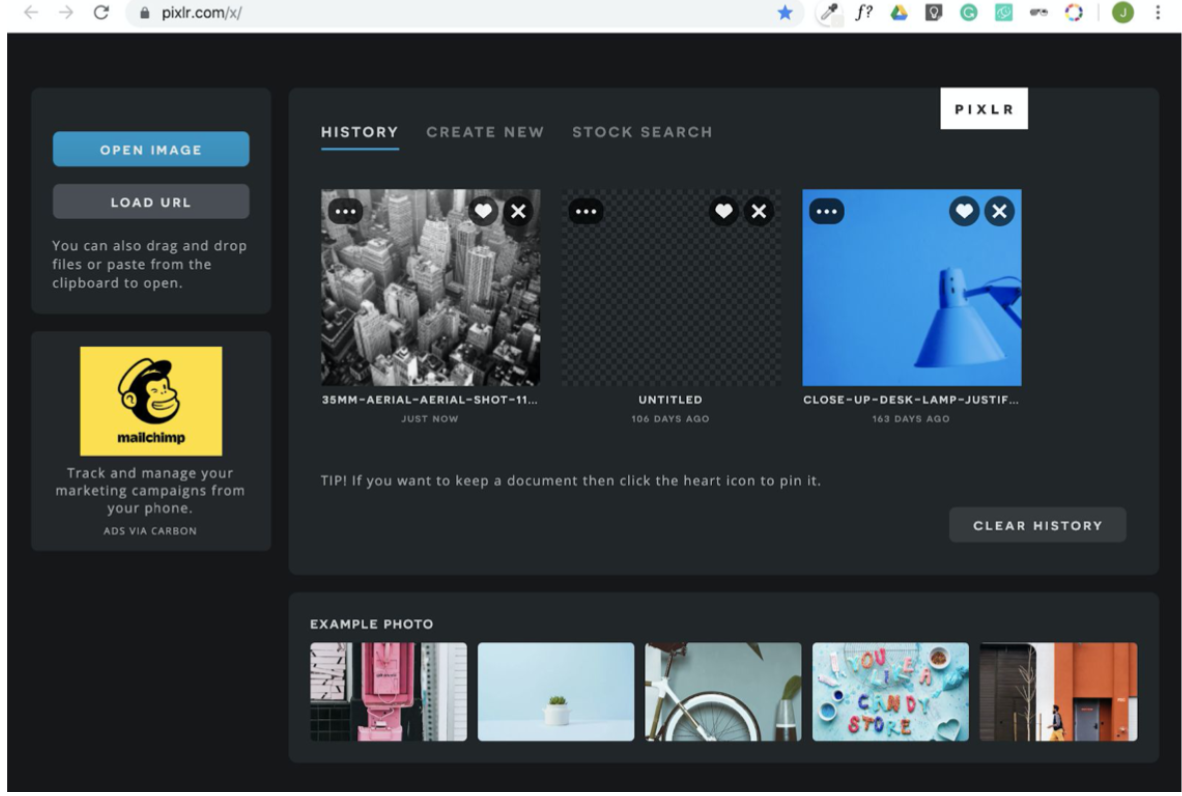
Step 1. Start by opening an image in Pixlr (click on the blue button in the top left)
Step 2. Click on the Adjust icon to bring up the options to customise the image.
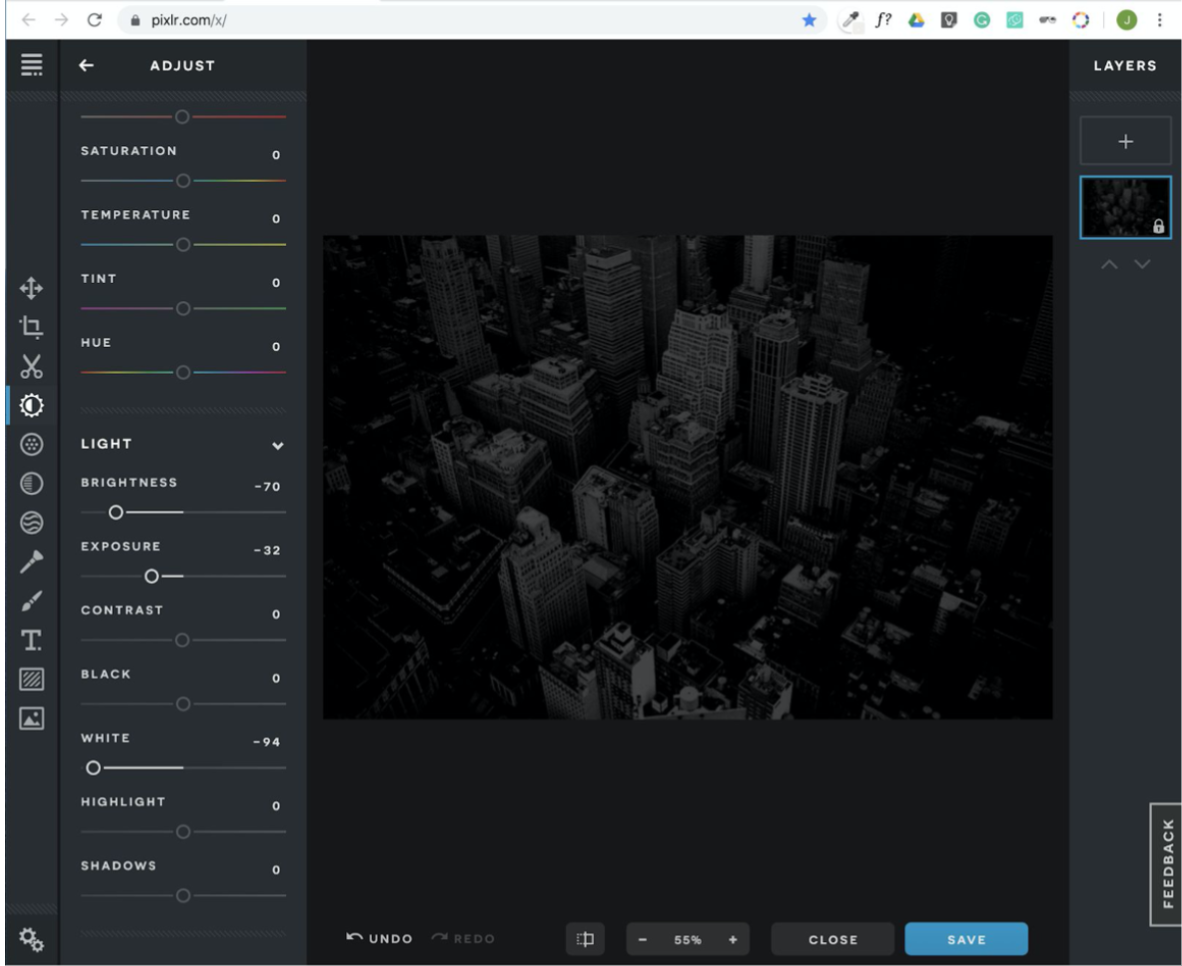
Step 3.
Play around with each of the settings.
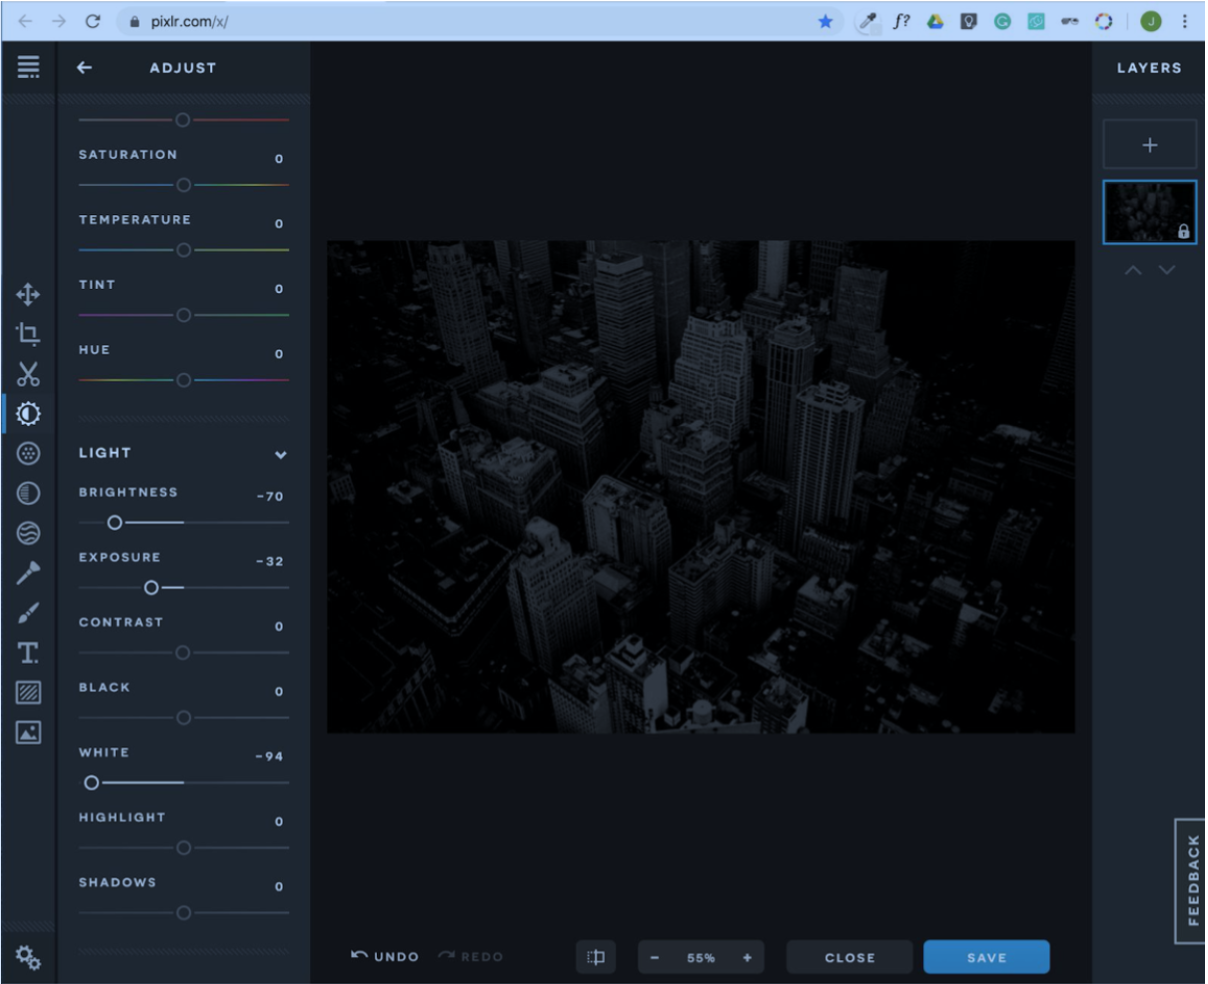
In this example we’ve decreased the brightness, exposure and white options to bring down the brightness of the white parts of the image.
Note: If you have a colourful image, such as a cityscape with a sunset in the background you could play around with the vibrancy and saturation bring down the brightness of the colors.
Once you’re happy with how the image looks, save a copy by clicking on the save button in the bottom right hand corner, this will prompt you to rename the file, change the file type and the quality of the image.
Generally, choosing the JPG and the low quality option will suffice.
You can then go ahead and test the image in EdApp and you’re good to go!
Note: The same thing can be done to lighten an image, just simply drag the sliders in the opposite direction.
Blurring backgrounds
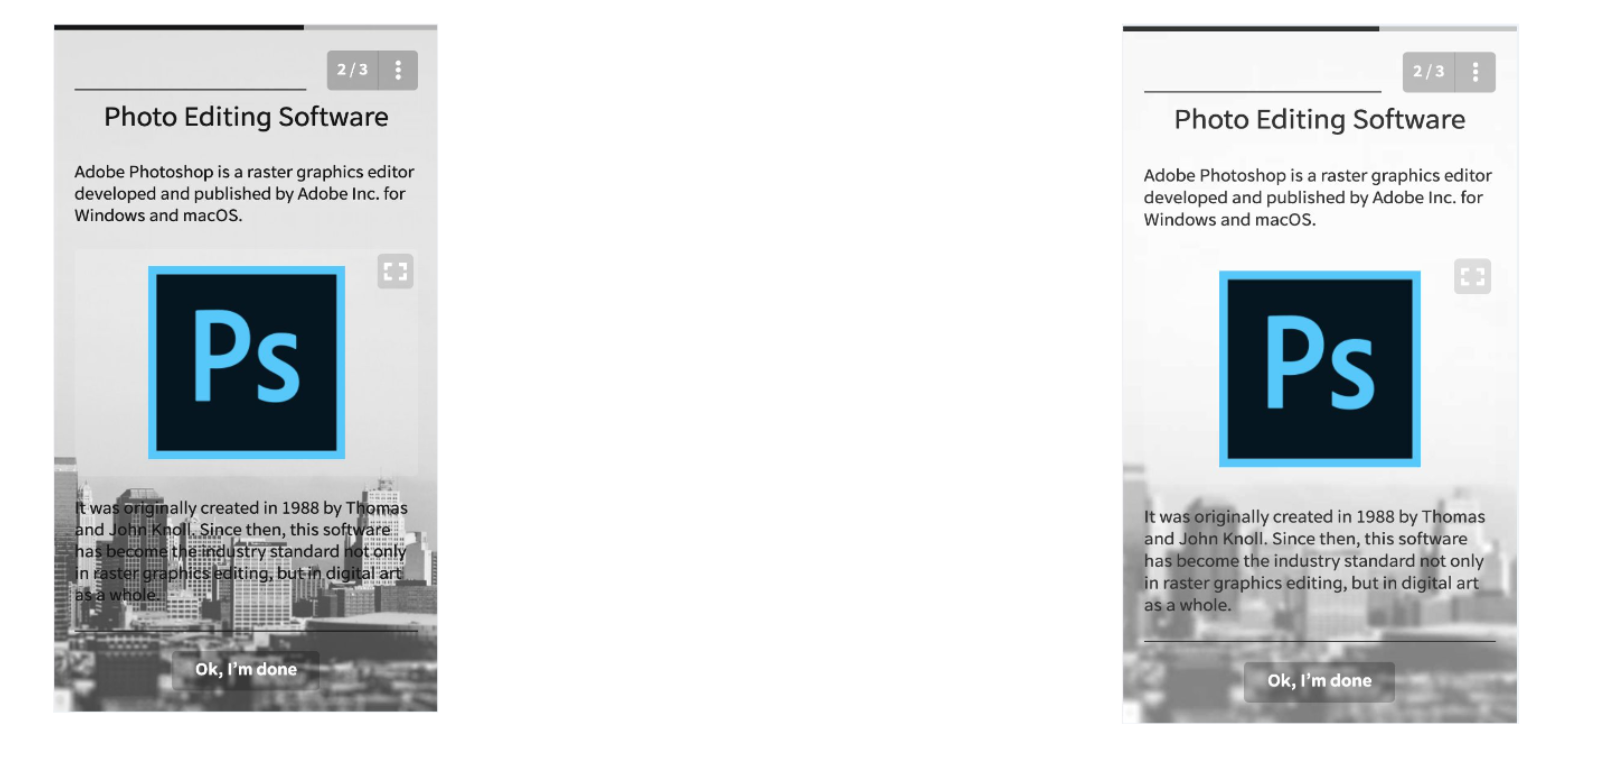
We also find that blurring your background image can increase text visibility for your learners, please see image below, you’ll see the original image on the left with no editing, and the blurred image on the right with notable differences in readability.
You can blur the image with the same method as darkening, just choose the icon shown in the image below and adjust the sliders to your preference.