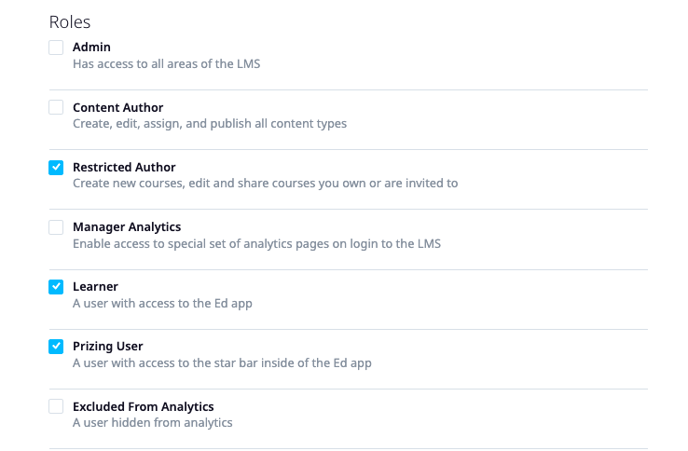
A restricted author can be added to collaborate on courses but only will be able to see courses they are invited to collaborate on, or they create themselves.
This user role has the following capabilities, for courses they own or are invited to collaborate on:
- Create, edit, and preview courses
- Delete courses (my own courses only)
- Share courses with others to collaborate on
Additional note: Differences when configuring courses between the Restricted author, Content Author, and Admin roles.
• Only Admins and Content authors can configure the course and lesson settings.
• Only Admins can assign the courses to learners.
How to add someone as a restricted author
Step 1: Go to the learner's profile and enable the 'restricted author' role. You can access the learner's profile by clicking on the 'users' tab and then on 'users'. You can then search for the learner with email, first name or last name.
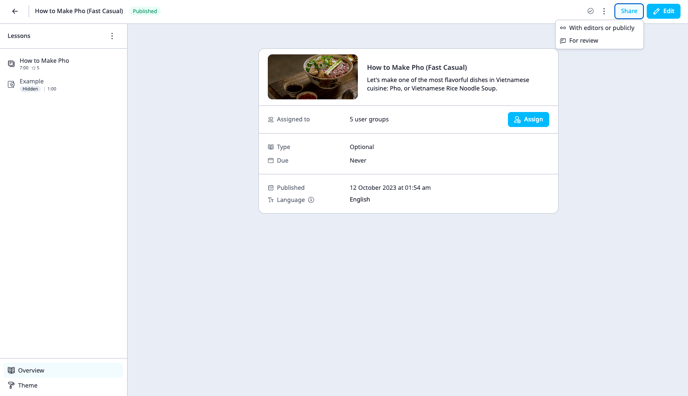
Step 2: Navigate to the 'content' tab and click on your course
Step 3: In the top right corner, click on 'share'
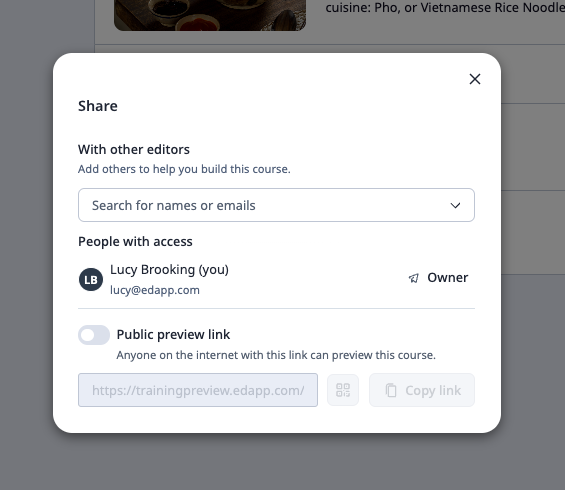
Step 4: Then click on 'with editors or publicly'
Step 5: In the 'with other editors' section, add the emails of those that you want to collaborate with on the course
Step 6: The collaborator will then receive an email to invite them to the course.
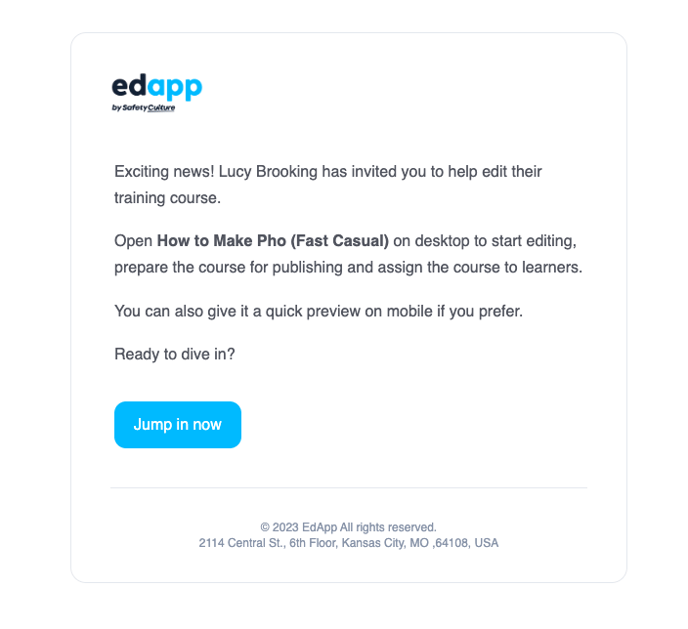
The collaborator will now be able to work on the same course as you.
7. This can also be done on the mobile version of the admin portal: Just click the 'Share' Icon on the top right.
.png?width=688&height=1489&name=image%20(41).png)