Banner Feature
EdApp's Banner feature will revolutionize how you engage with your learners. Here's how.
How to use the Banner feature
To learn all about our Banner feature, including why we built it and what it achieves, click here. Otherwise, read on to follow our step-by-step guide on how to access and leverage our Banner feature today.-gif-1.gif)
1. Admin LMS
Creating your Banner
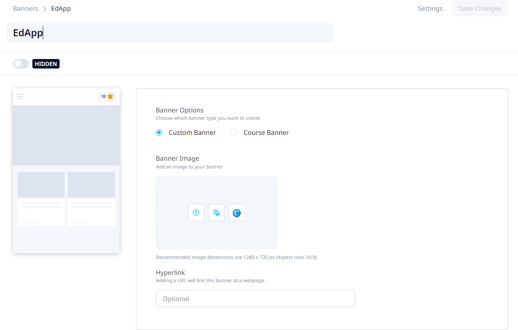
You can easily create 2 different types of Banners: Custom and Course Banners via the 'Engage' tab by simply clicking the '+Create a Banner' button.
Custom Banners:
For Full Horizontal Banners, you can use a Canva size of 3180 x 720 px with a middle safety area of 1280 x 720 px.
Once you are on the 'Create a Banner' page, choose the Custom Banner type. With this type of banner, you have the option to add an Image URL that will act as a hyperlink for the learner to be directed to any external URL. You can use our template here.
Note: Assigning banners to specific user groups is only available on EdApp Pro plans.

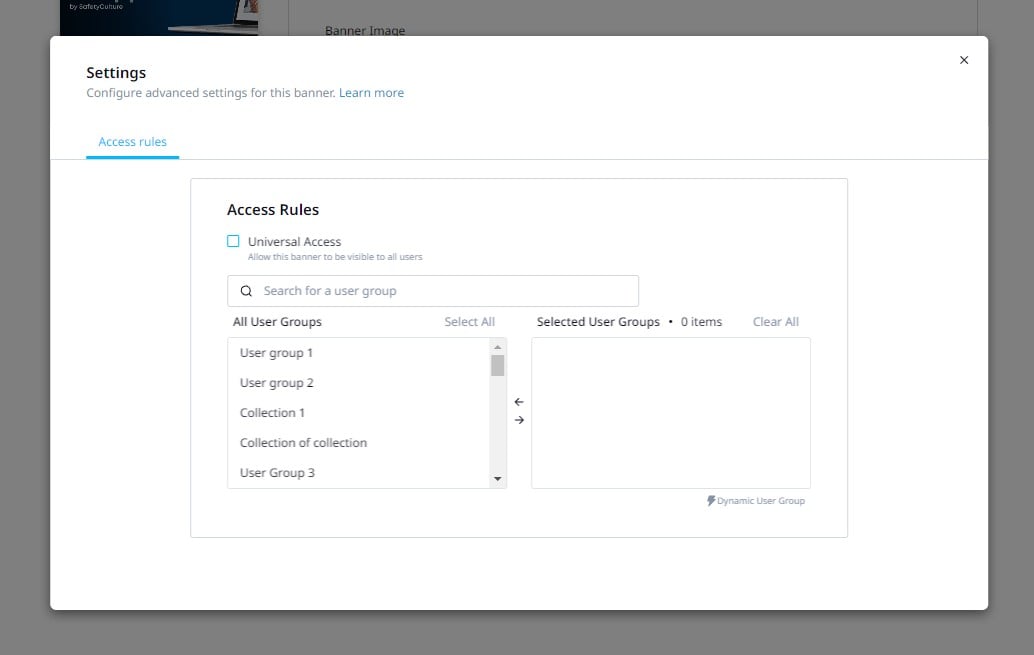
Custom banners can be assigned to different User Groups via 'Access Rules'. This function enables you to target segment users based on factors of choice, personalizing each user’s learning experience.
The Banner can be made available to all users within your account by utilizing the most functional and efficient solution, the 'Universal Access' button. All banners will have defaulted to universal access.
Course Banners
You can also create a Course Banner to easily feature courses for the learners. Just choose Course Banner as your banner type, and search for the course you want to use. The Course Banner will have the words ‘featured course’ and the course title on top of the course card. By default, the image the banner takes is the course card image, if you want to change this you need to go to the course settings > display and then edit the image there.
Alternatively, you can also customize your Course Banners by uploading a GIF or an image to it, instead of the default course cover image. Click on the ‘customize’ button and then upload your image.
Managing Banners
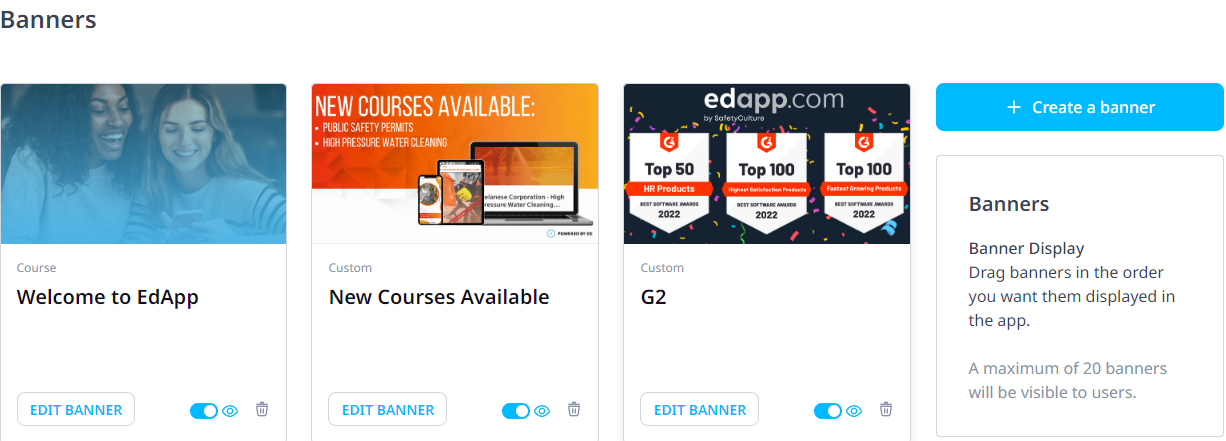
On the Banner page, the toggle enables the option to make the Banner visible or hidden to learners in real-time. All of your Banners will be listed on the main Banner page, enabling easy access and tracking of your creations. You also have the ability to drag and drop the Banners in the order you want them displayed in the Learners App.

2. Learners’ App
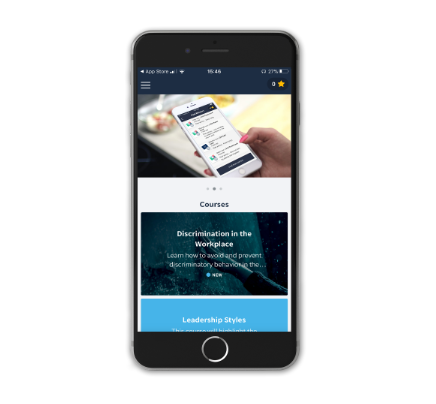
On the homepage of the learners’ app, amongst all courseware, you will find the Banner at the very top.
Desktop
-1.gif?width=619&height=387&name=ezgif.com-gif-maker%20(1)-1.gif)
Mobile

- Learners can see up to 20 banners at a time
- Multiple banners will scroll automatically
- When a learner clicks the Course Banner, it will take them straight to the course in-app.
And that’s it! We hope you enjoy Banners and that it further enhances your L&D strategy, enabling better learning experiences and outcomes alike.