Media Library
The Media Library is where you can easily add and manage your images, audio files and videos all in one place.
Add assets to your Media Library
There are a few ways that you can add assets to your Media Library:
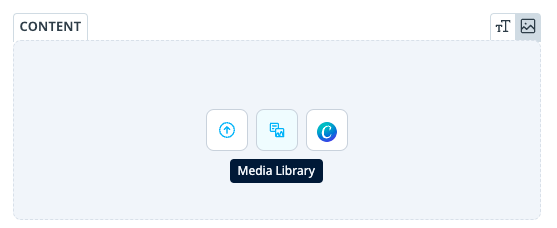
- The Media Library is directly accessible from any branding assets upload file field account-wide. Simply select the ‘Media Library’ icon and from there you can add new assets directly to the media library that you wish to use.
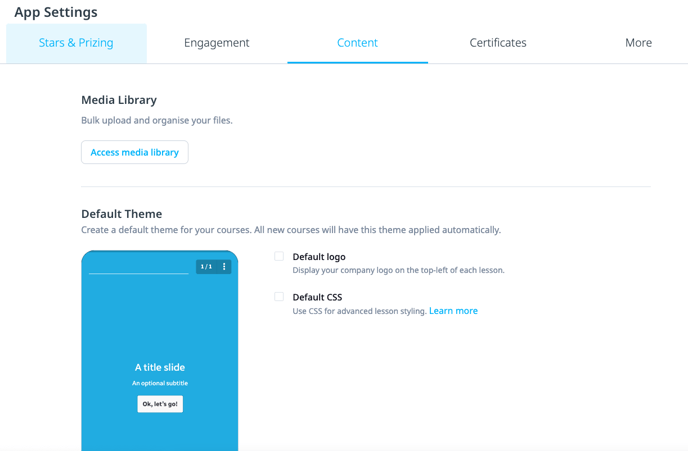
- You can also add content directly to your Media Library, by going into App Settings, selecting the ‘Content tab’, and clicking ‘Access media library’. From here you can also easily organise and manage your assets.
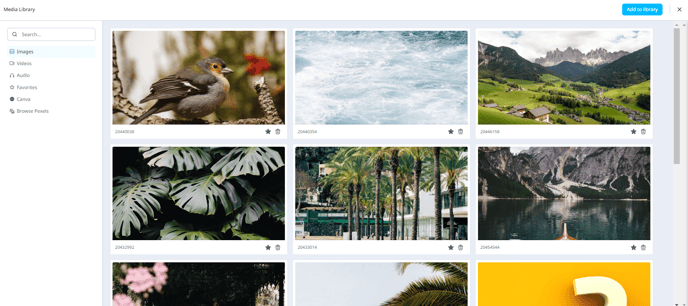
- Adding is easy, simply click ‘Add to library' or drop and drag files directly into the library.
- Also, whenever you upload images, audio, or videos to your courses, lessons, or anywhere else in the admin portal, they will automatically appear in your Media Library as well.
The Media Library is directly accessible from any upload file field. Simply select the ‘Media Library’ icon and then select the assets from your Media Library that you wish to use.
Edit Media Library items
To edit the title or description of any file in your Media Library, follow these steps:
-
Click on the media file you want to edit, and select ‘Details’. You’ll see a new section on the right side of the screen.
-
Make your changes, and click ‘Save’ when you’re finished.
Search Your Media Library
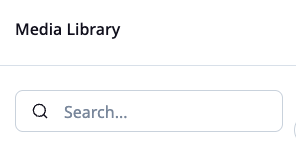
To find previously uploaded assets, select the Search field and then type in the title or description of the media item you’re looking for.
Delete Files from the Media Library
Deleting a file from your Media library will remove it from the library only, it will not remove it from anywhere it has been previously uploaded in the admin portal.
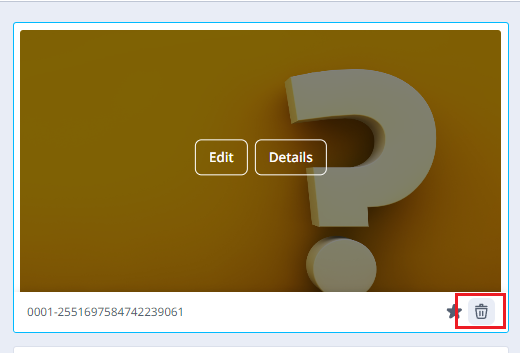
To delete files from the Media Library, click on the trash can icon next to the item. You will see a warning that it will remove the files from your Media Library. Click ‘Remove file’ to confirm.