Contents
Export user information via csv
Configure upload settings & upload csv
Export user information via CSV
Exporting learner information provides all the data associated with the learner profile including custom fields in this export.
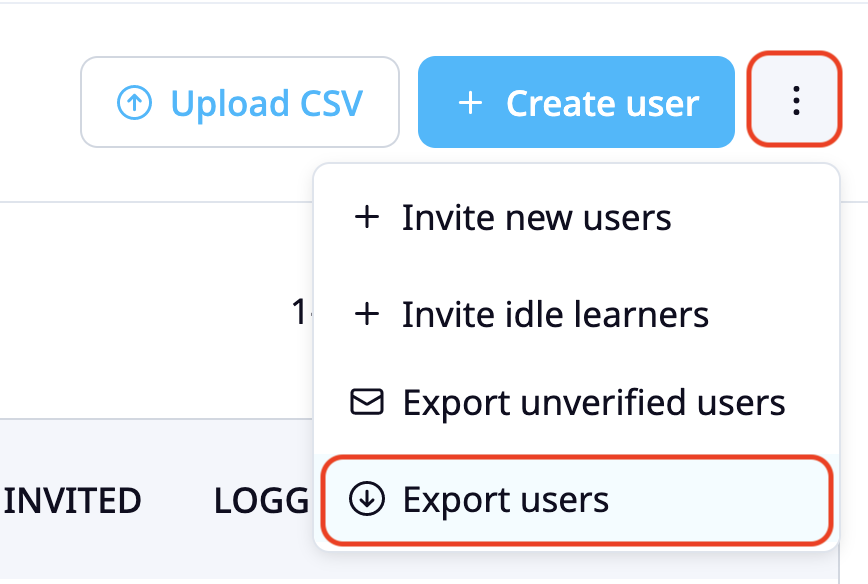
1. Navigate to the "Users" section of the "Users" tab

2. Select the three dots then 'Export users'
This will export a CSV file. You will be able to see:
- Username
- First Name
- Last Name
- User groups
- Roles
- Password (only for changing passwords - this will not tell you the learners' passwords)
- External ID
- Any created custom fields (in this example, they are job title and department)

Recommendation 💡
Save a version of the export in case you accidentally overwrite some learner profiles so you have an original version to revert it back to!
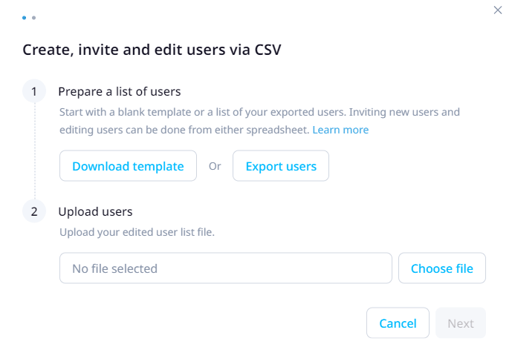
Edit users in bulk & upload CSV
1. Open the CSV file
2. Remove any users from this sheet you are NOT changing
We recommend removing any learners whom you aren't changing information or custom fields for. Choose the filter option if using Excel.
-png.png)
You will need to filter out those who you are making changes to, so your sheet consists of those who you are not making changes to. In the example below, we want to make changes to edapp3@edapp.com and edapp4@edapp.com.
-png.png)
Once filtered, right-click and delete these learners. This will leave you with only the learners you are making changes to.
Removing the learners from the spreadsheet WILL NOT delete them as a user in the LMS, and no changes will be made to their learner information.
3. Update fields.
Don't change the column order or name
Do not update the email and the username at the same time as this will cause the system to recognize it as adding a new user.
We suggest having the usernames be the same as your users' emails. Having a username different from the email causes the users to only be able to log in via their username.
This could also cause errors when users initially set up their accounts if you have an internal integration system that onboards users automatically.
| Field | Instructions |
| Required field. | |
| username | Optional (will take on the email if left empty) |
| firstname | Optional (recommended for reporting) |
| lastname | Optional (recommended for reporting) |
| usergroups |
Each user group should be seperated with a ; followed by a space. Example: marketing; operations; This also needs to be written exactly how the user group is named or the LMS will not recognise it. |
| roles |
Each role should be seperated with a ; followed by a space. The following roles can be assigned from the csv:
The default role for new users is Learner & Prizing User. |
| password |
Use only for changing passwords. This will not tell you the Learners password. Updated passwords will be validated. Leaving the password column blank will mean the learner maintains the password that they have set up. Use with caution! |
| externalid | Optional (You can add a custom ID to identify this user in external API requests. This ID must be unique.) |
Once you've finished editing, save it as .csv ready for upload.
Configure upload settings & upload csv
1. Select CSV file
Upload your file then click 'Next'.
2. Upload settings - send invitations to new users
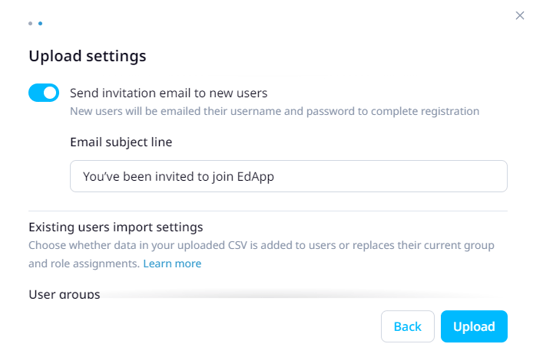
Choose whether you would like any new users to be sent invitations by enabling the toggle. Only new users will be sent invitations if you enable this option.
For more information on inviting users in bulk from the csv, please see the support article invite users in bulk via csv.
3. Upload settings - existing users import settings
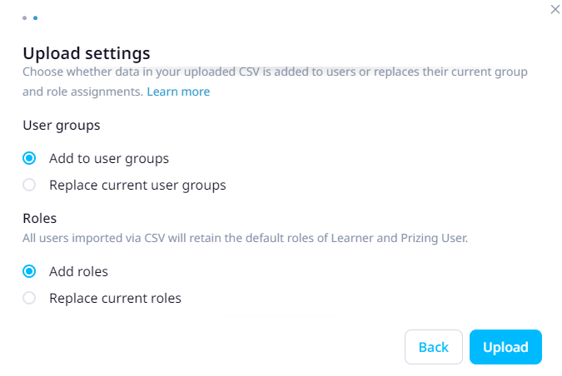
Choose how you would like to update User Groups and Roles for existing users.
Add - Will add the new values to the current assignment.
Replace - Will replace any existing values with the new value.
Default Roles 💡
All users imported via CSV will retain the default roles of Learner and Prizing User.
4 . Confirmation of changes successfully made
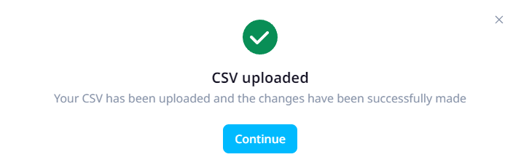
Once this CSV has been imported, your changes will be live on the learner's profile.