Some strategies for reinvigorating and breathing new life into older courses include:
- Making sure your content is up to date
- Updating your branding
- Adding some Custom CSS
- Creating a quiz lesson
- Utilising the Social Learning feature
- Utilising the Discussions feature
Make sure your content is up to date
Read through your content to ensure that the information is accurate and still relevant to your learners. Try out the courses yourself as if you were a learner. Change any textual information or media which needs updating.
Update your Branding
Similarly to the content of your course, the branding should be modern and reflect the current standards or styling of your organisation. You can update your styling in the ‘Branding’ tab of the course. You can change the:
- Logo
- Cover image
- Background
Note: Remember that logos work best when they are a transparent PNG file. Cover Images and Backgrounds work best when they are simple and the text is easily readable over the image.
Add some Custom CSS
Add some custom CSS to your styling. Simply copy and paste the below code into the ‘Custom CSS’ box in the course ‘Branding’ tab. You can choose a ‘background color’ for the buttons and also the text ‘color’.
Find out more about Custom CSS here
/*Main buttons*/
.btn.btn-muted{background-color: black; color:black;}
.btn.btn-solid {background-color: black; color:white;}
.slide-expandable-list .item.active .item-button {background-color: black; color: white;}
If you want to create an extra level of branding you can make the buttons change color when you click on them.
/*Make the buttons change color when they are active*/
.selectable.active .btn {background-color: red; color:white;}
.draggy.active .btn {background-color: blue; red: white;}
You can also add in code so that within multiple choice templates, the correct answer will change to the active color when the user presses the ‘Ok, I’m done’ button (i.e correct answers will be highlighted and incorrect answers will revert to the original button colour). In the code below, correct answers will change to a red background with white text, and the incorrect answers will revert to the original button color, black background with white text.
/*Multiple choice, correct answers remain active color after question complete*/
.slide-multiple-choice-game.state-complete .selectable.correct .btn { background-color: red; color: white;}
.slide-multiple-choice-game.state-complete .selectable.incorrect .btn { background-color: black; color: white;}
Create a quiz lesson for the end of a course
Use the ‘Import’ feature within the template library to select all the interactive slides within a course and put them into a new lesson. This can then be a new quiz lesson in the course.
- Create a new lesson, entitled “Quiz” or similar
- Go into that lesson and open up the template library
- Go to the import feature
- Select the source lesson where you would like to draw the existing quiz or reinforcement slide from
- Select the slides which you would like to import into the quiz lesson
- Repeat for other reinforcement slides within other lessons to add them to your quiz


Find out more about the Import feature here
Enable Social learning
Add social learning. Social Learning is a feature where learners can comment on a slide in a simple forum format.
In order to use this feature you must enable Social Learning for your account, and on the particular slide on which you would like learners to be able to comment:
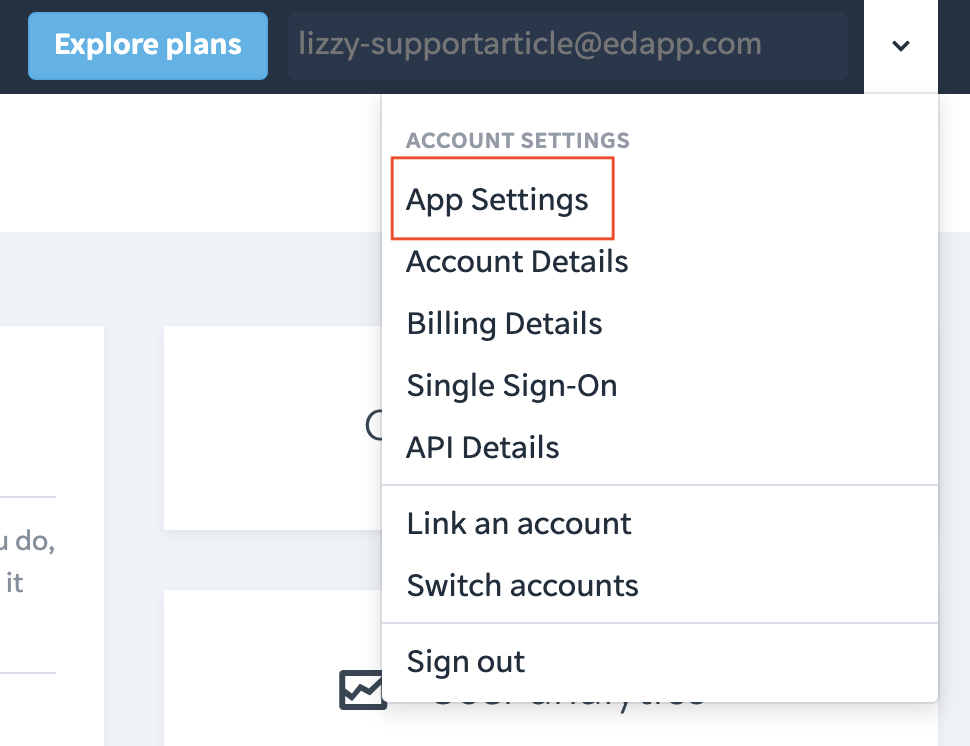
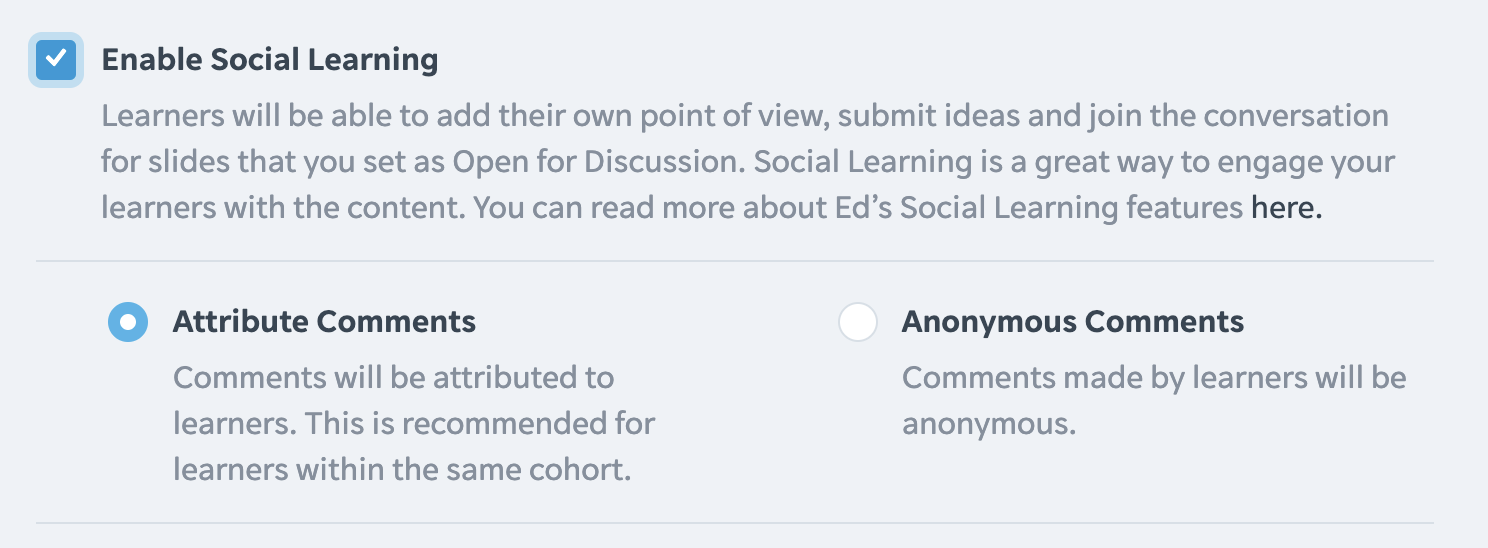
- Enable social learning in your account
Go to your App Settings > click on the Engagement tab > Tick the ‘Enable Social Learning’ checkbox.

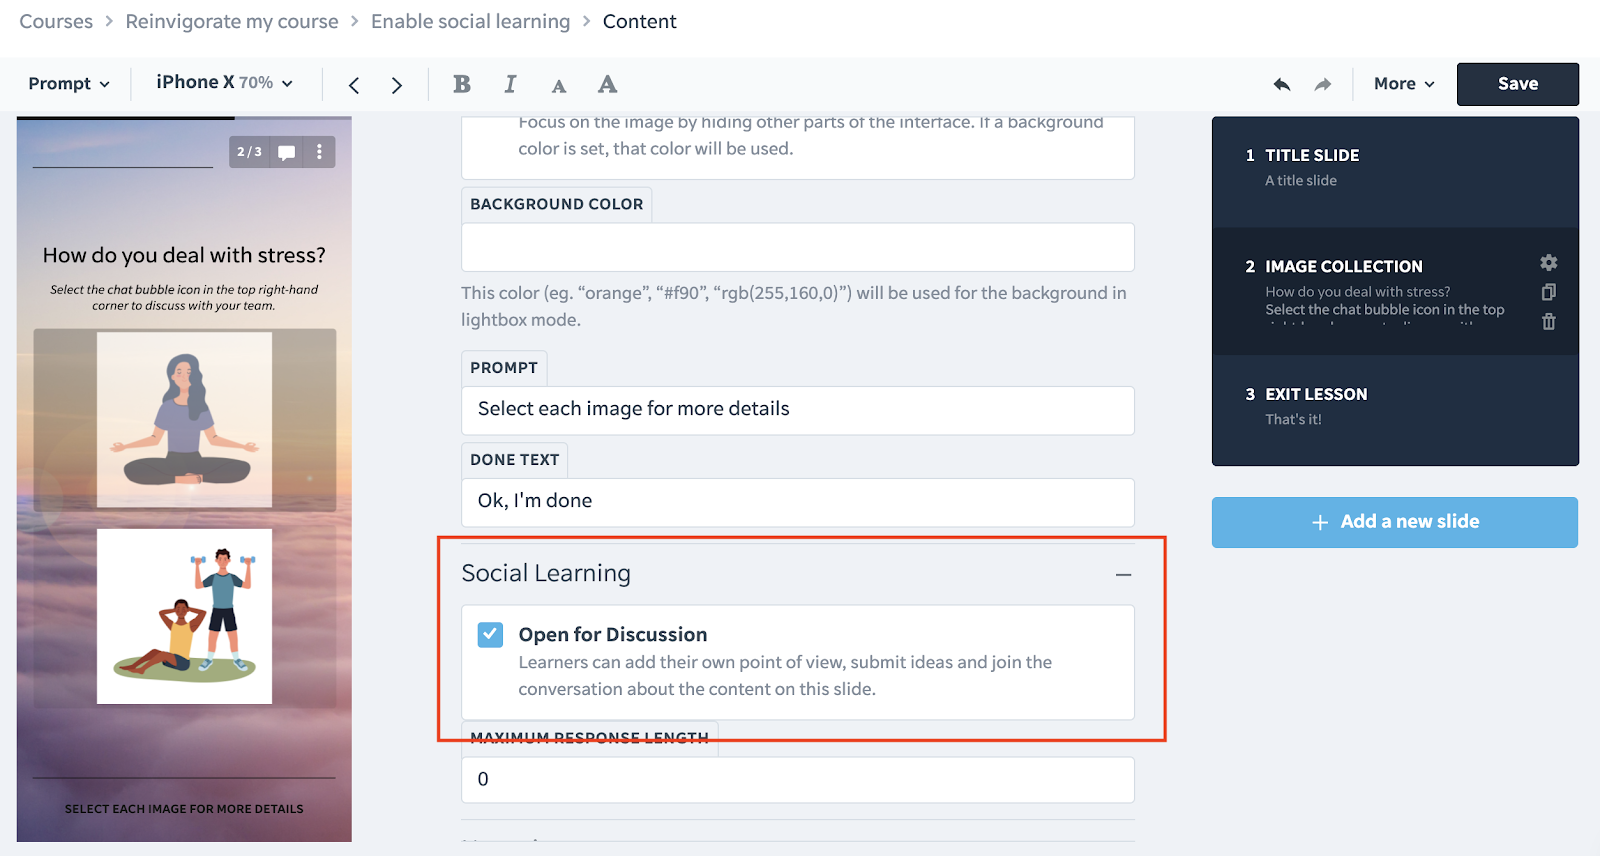
- Enable social learning on a particular slide in a lesson
Next, you should turn on this feature on existing slides within your courses. It is recommended that where social learning is enabled, that it is made clear in the lesson what part of the slide the learners should respond to. For example, you may provide a written prompt on the slide that says something like, “Press the chat bubble and let us know what strategy you would use to sell this product.”
Go to the chosen slide > scroll down in the Configuration Panel (middle section) so you see the Social Learning section > press the plus (+) to view the section > tick the ‘Open for Discussion’ checkbox.
A learner can then interact with the slide by selection the chat icon, and typing their response as shown below.


Note: Admins can see learner contributions to the Social Learning under the ‘Peer Learning’ tab in the main navigation bar.
Find out more about Social Learning here
Add a Discussion
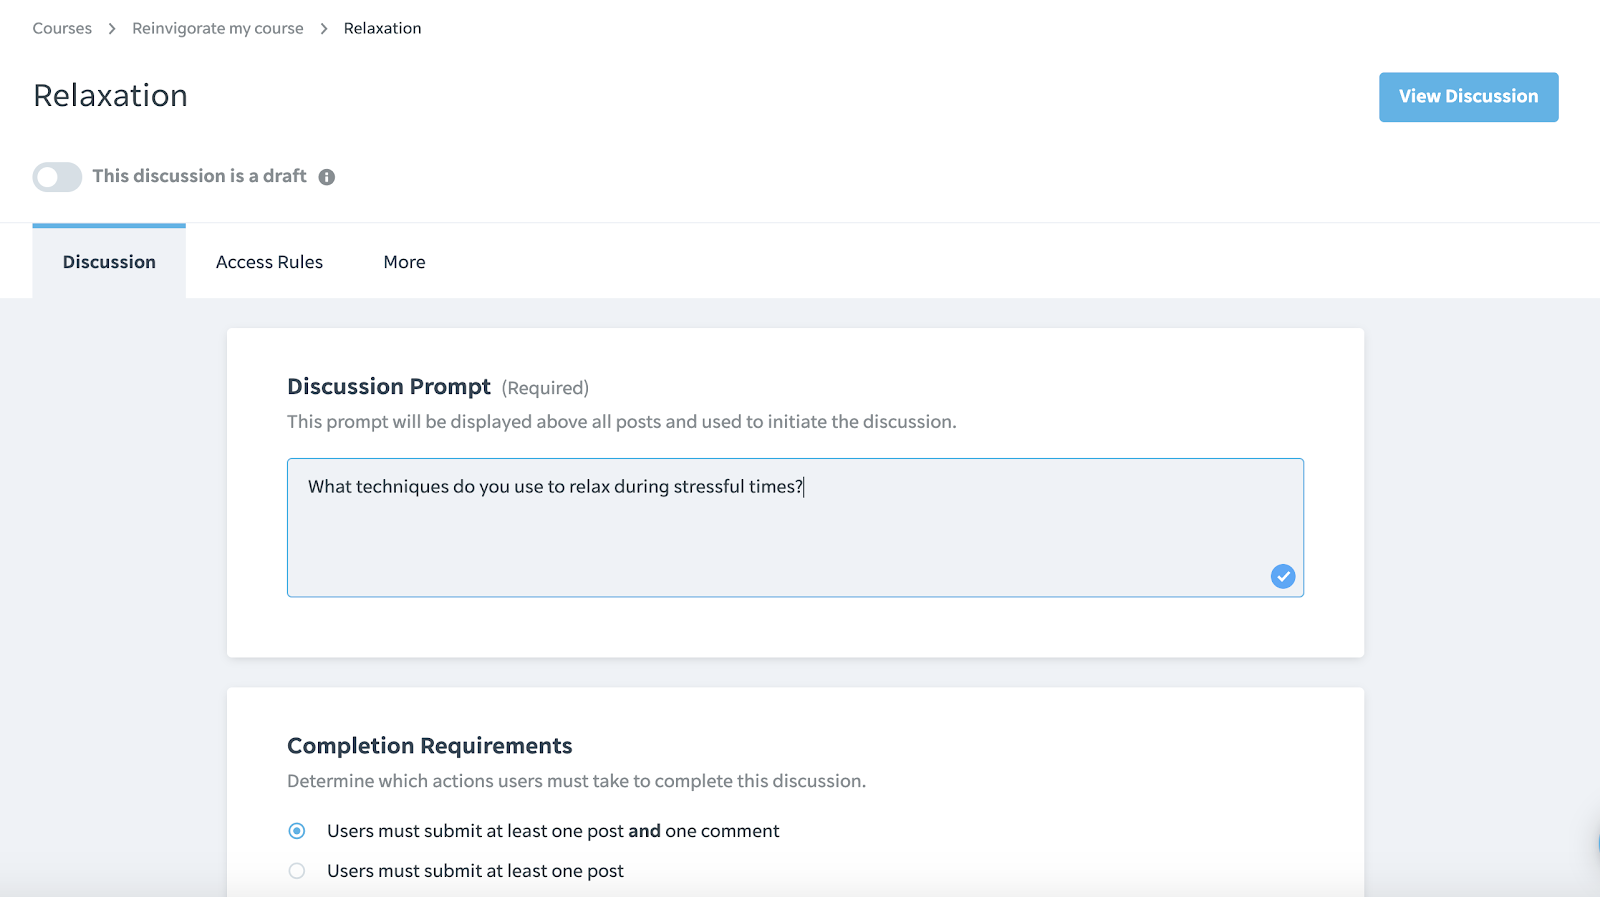
Similar to Social Learning, Discussions allow you to create a chat forum in your course, but not tied to any particular slide. You can add a question prompt and set completion requirements for comments made by your learners.
In your course, click the dropdown arrow on the ‘Create a lesson’ button, and choose ‘Create a discussion’. Then fill in the text input fields and requirements.
Find out more about Discussions here