Deputy is a workforce management product used by companies to simplify the administration of shift work including rostering, timesheets and communicating with front line staff. Its mission is to simplify shift work.
Shift workers often need to complete mandatory training before they can be qualified to work a shift. For instance this might include onboarding training before their first shift with the company, regular compliance training or ad hoc role specific training.
Setting up
Step 1: Navigate to the drop-down menu in the top right-hand corner and click on "integrations"
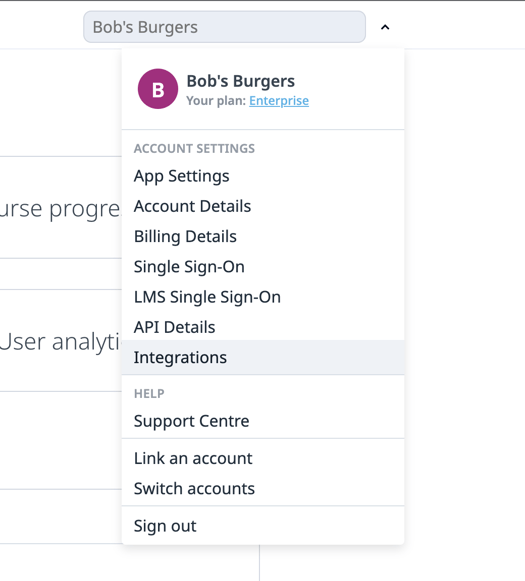
Once on the integrations page, you will see all available integrations on EdApp.
Step 2: Click on the Deputy tile
This will bring up an overview of how the integration works
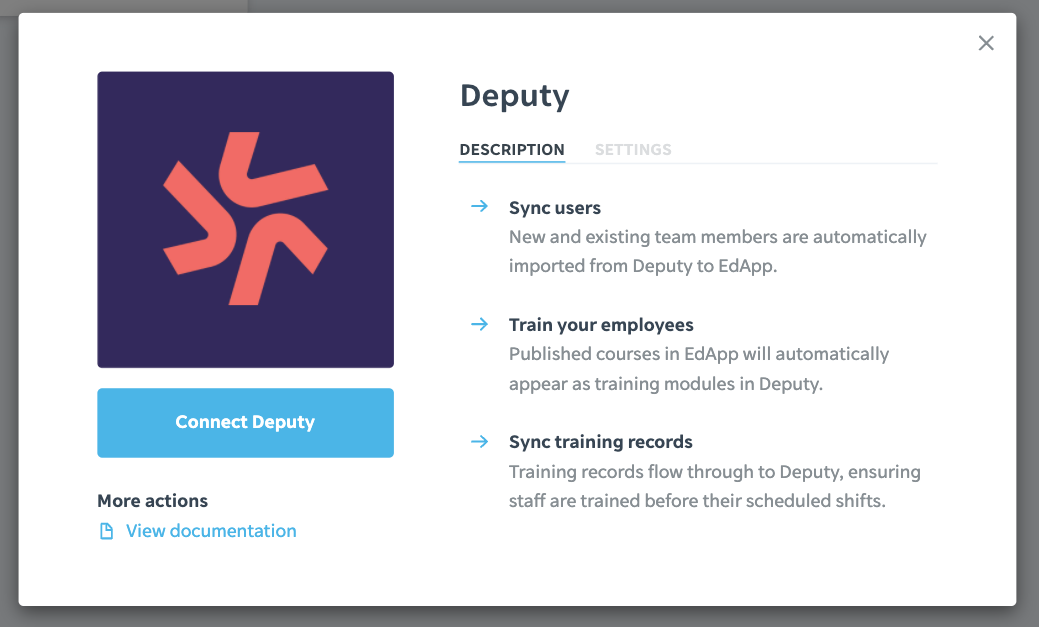
Step 3: Click on the "Connect Deputy" button
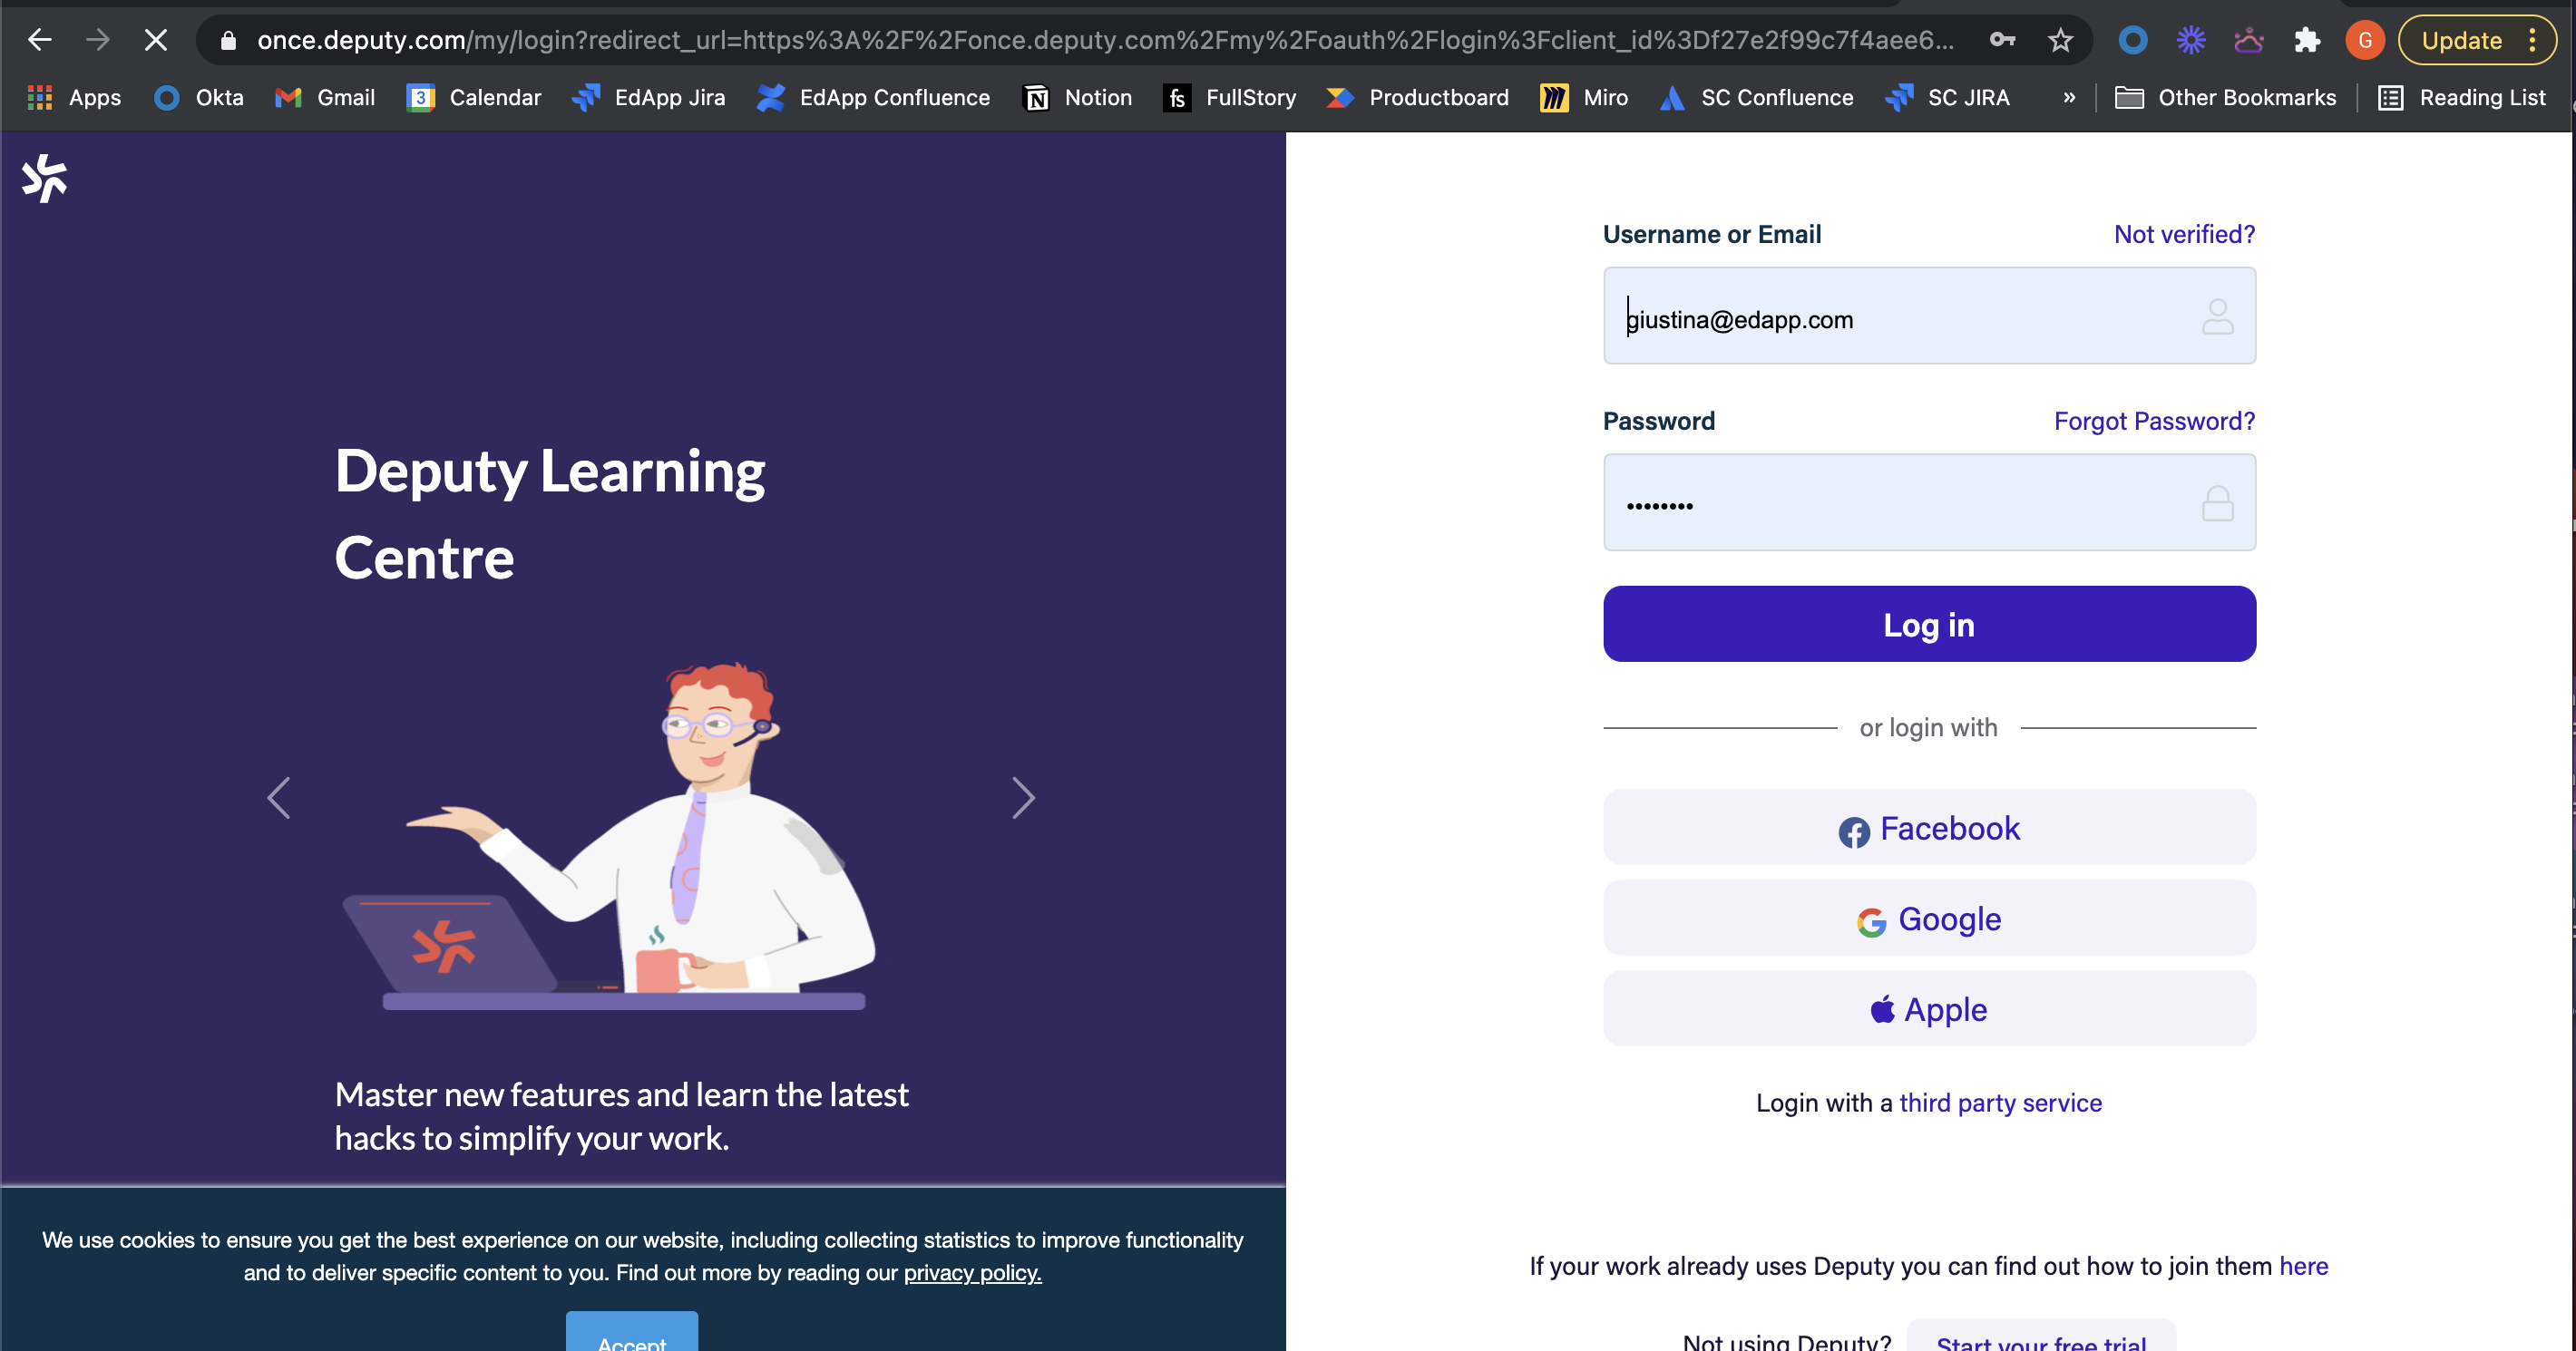
Step 4: Use your Deputy credentials to log in to Deputy
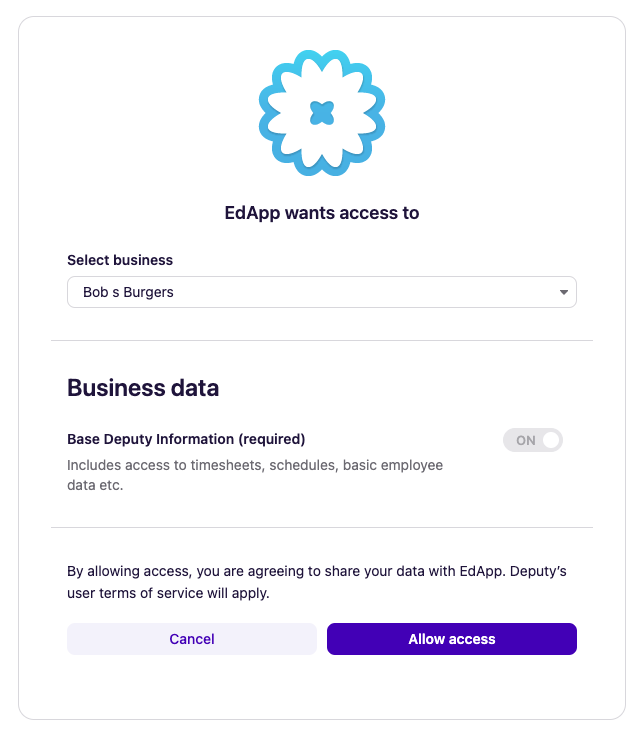
Step 5: Allow EdApp access to Deputy data
This will enable the syncing of employees, training courses and completion data between EdApp and Deputy
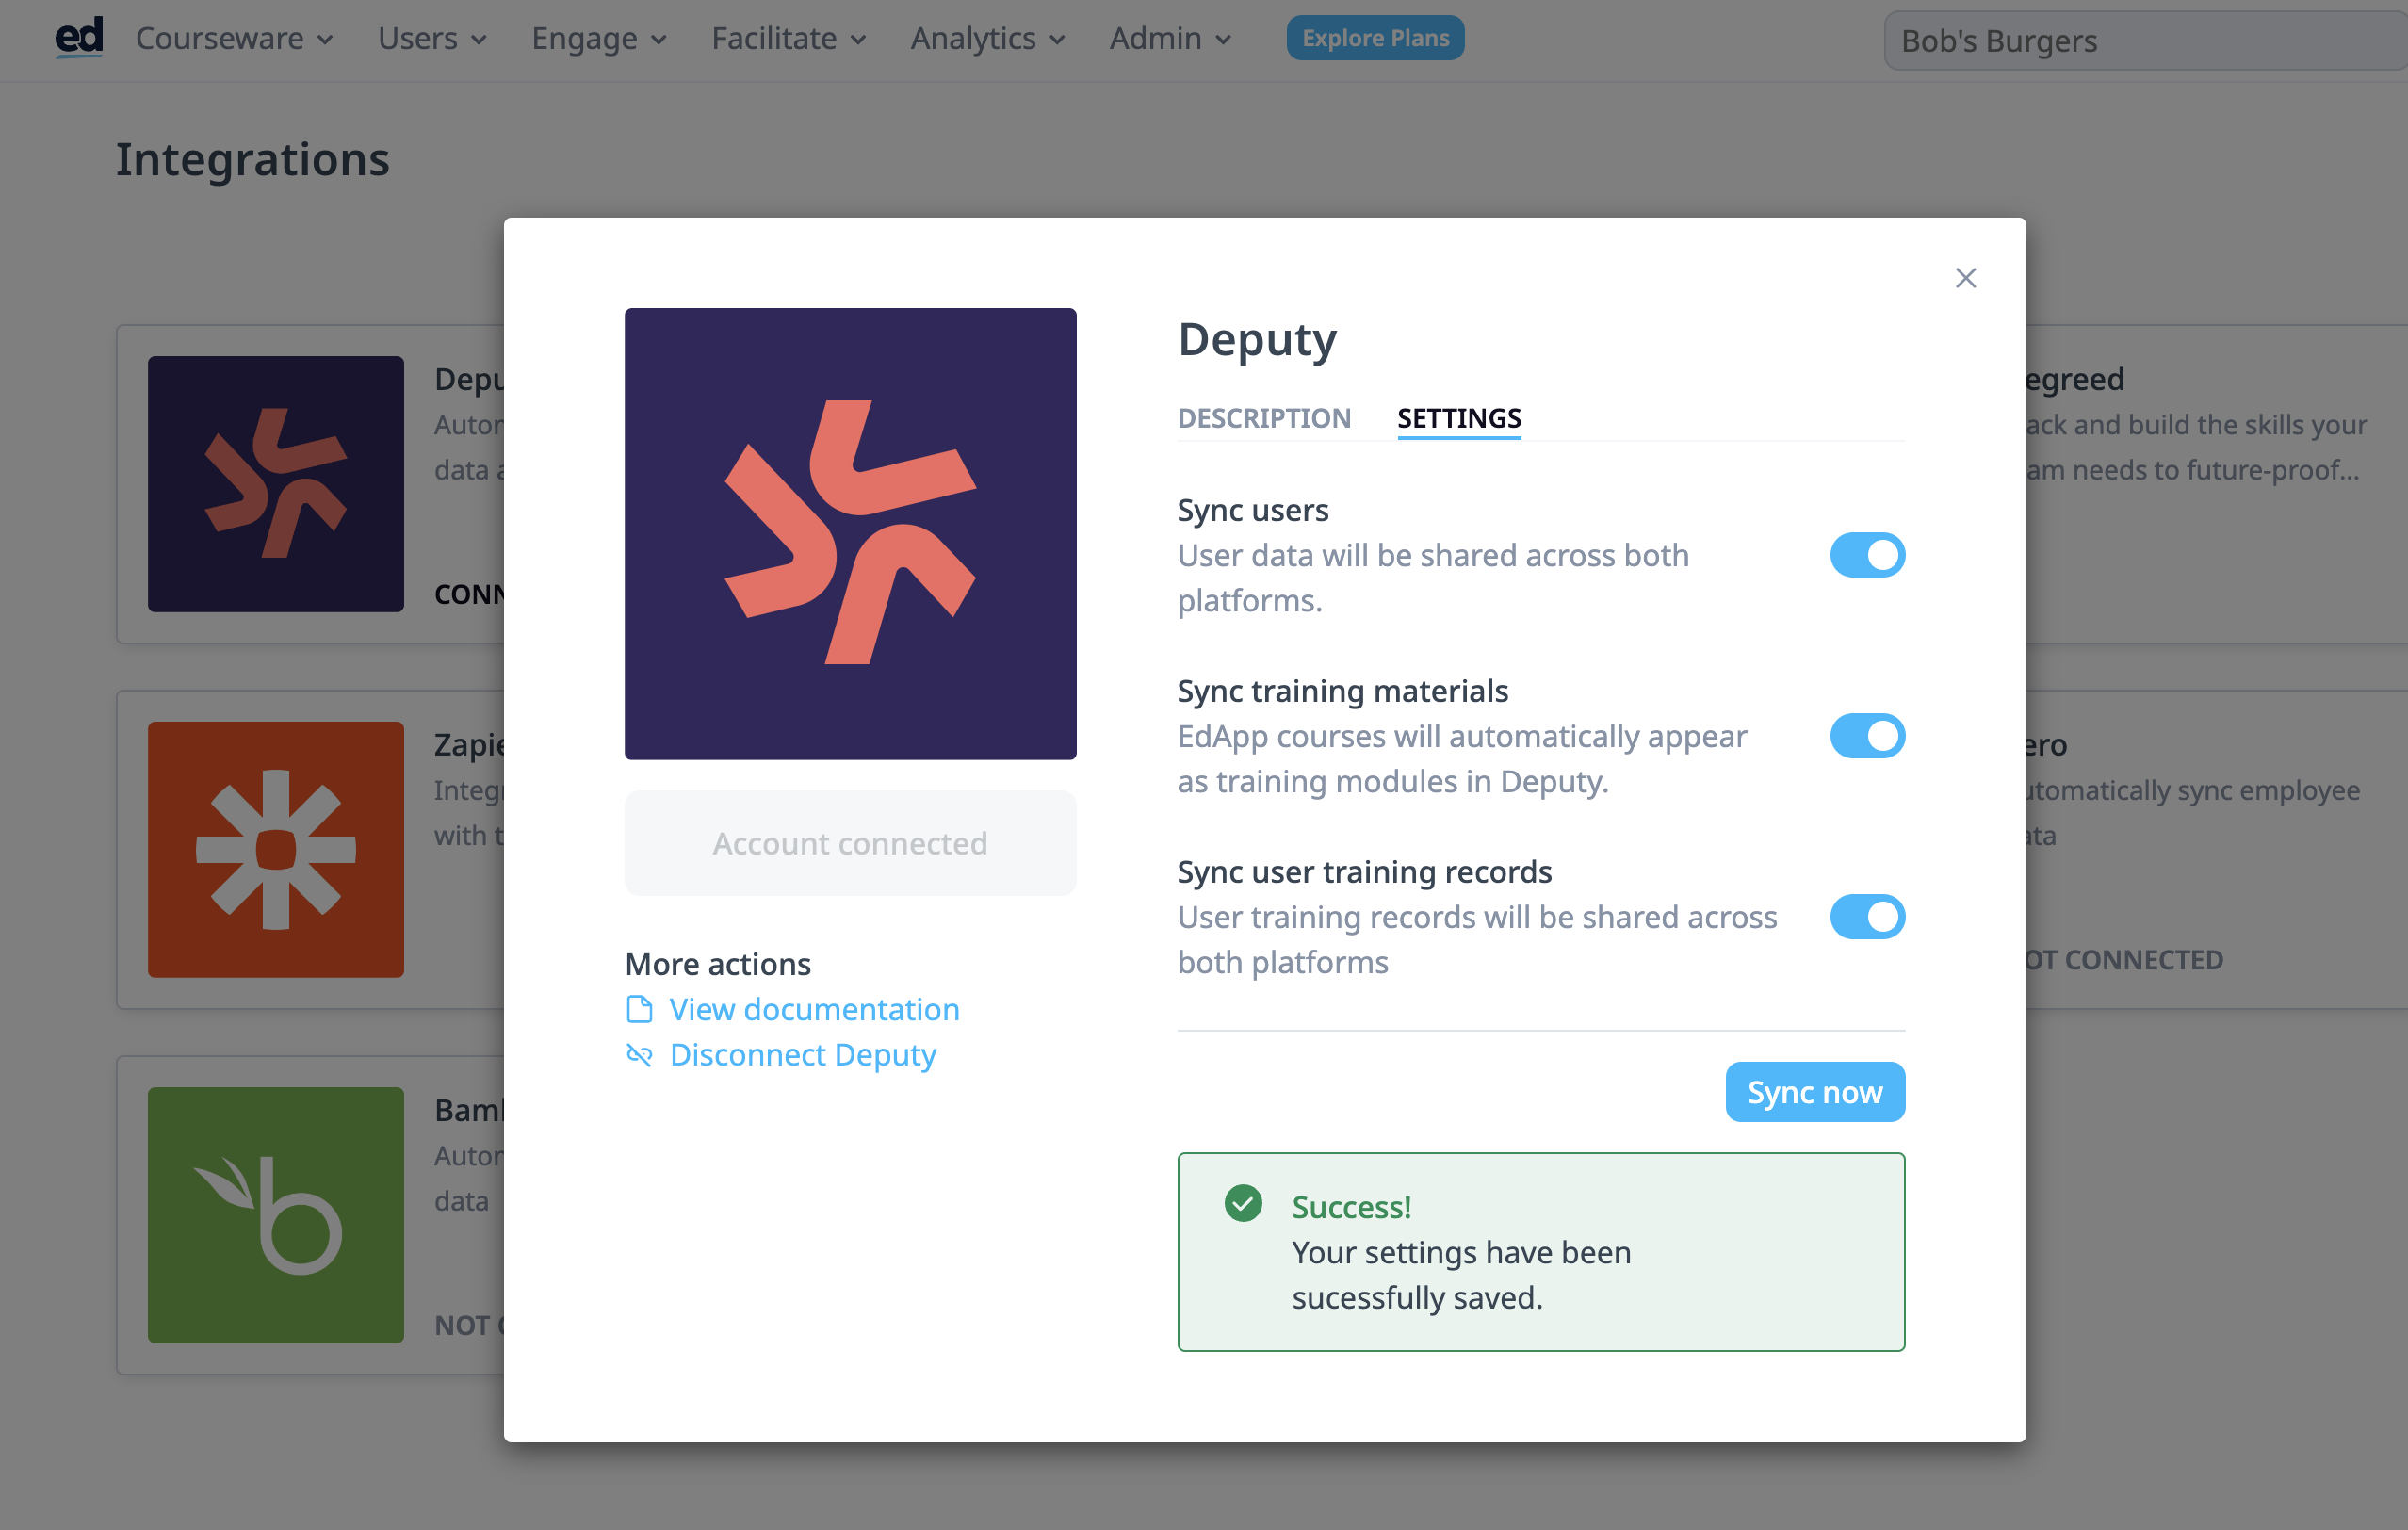
Step 6: See the confirmation pop up
After clicking allow access, you will see a confirmation screen that your Deputy and EdApp accounts have been connected. If the integration wasn’t successful you will see an error message to confirm this.
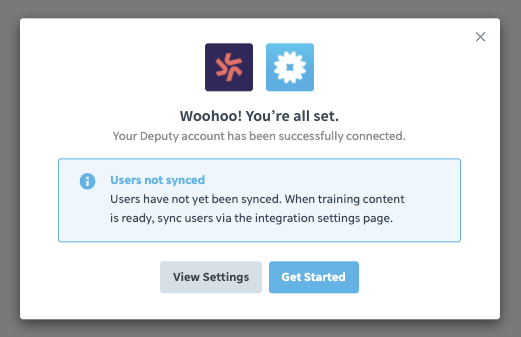
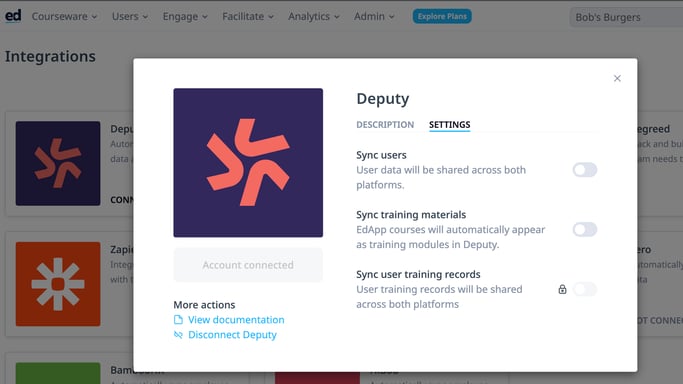
You will see that the option to sync users is off by default - if you click on view settings and turn on the toggle to sync users, you will see a warning message that this will result in EdApp learner accounts being created and email invitations being sent to all employees in your Deputy account.
If you are not ready, to invite your learners, you should keep the toggle off and press continue. You can return to this later.
Note: The Sync user training records option cannot be turned on until the Sync users option has also been enabled
 What happens in EdApp
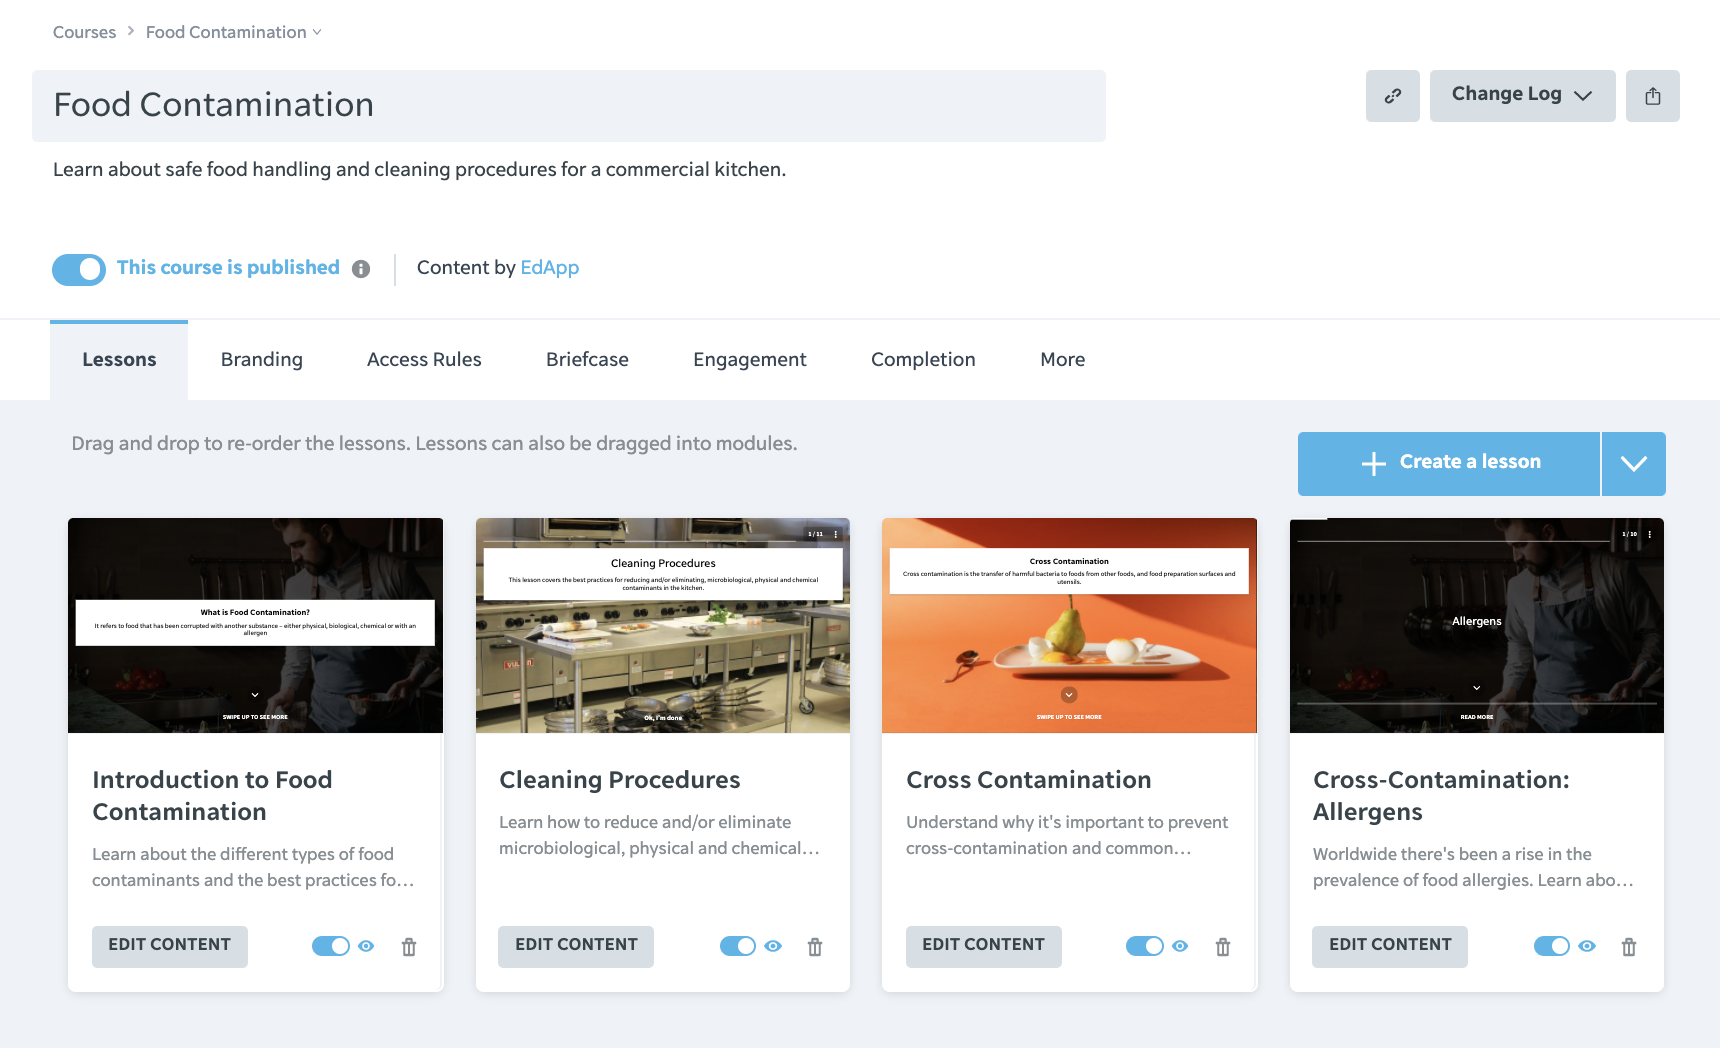
Step 7: Start making content (if you don't have any content yet)
Once the integration has been set up you will be redirected to a checklist outlining key onboarding steps. You can click on browse the content library to start creating courseware. Click here to learn how to import a course from the content library and click here to see how to use the authoring tool.
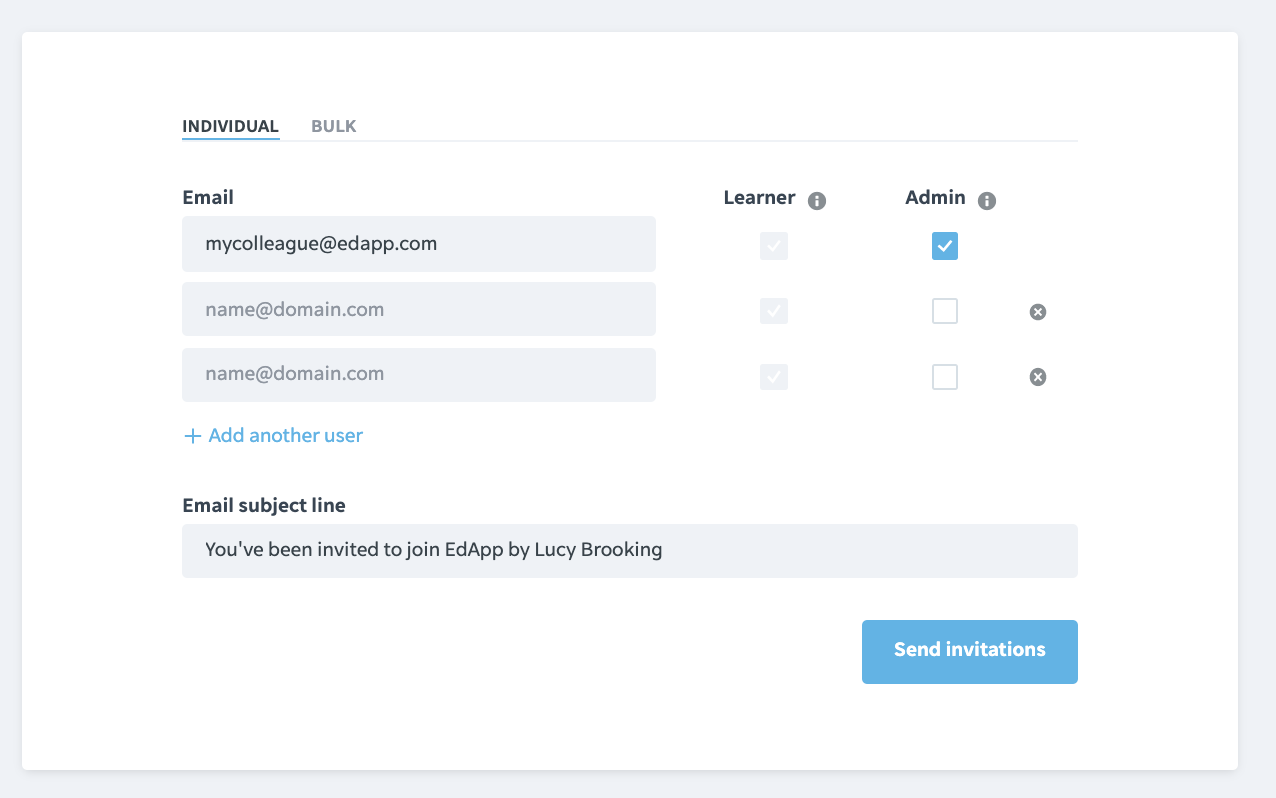
Step 8: Share the platform with your colleagues (if you haven't done so already)
You can now also invite your colleagues to join the platform as admins to help manage the account or to build and review content. Please see this article on the different roles we have available on EdApp.
Step 9: Enrol your learners (if you haven't done so already)
You will be directed back to the integrations page where you can turn the sync of learners on, this will send out an email to all your learners with the information they need to get onto EdApp. Turning this on means that every time someone new is added to Deputy, they will also be added to EdApp.
What happens in Deputy?
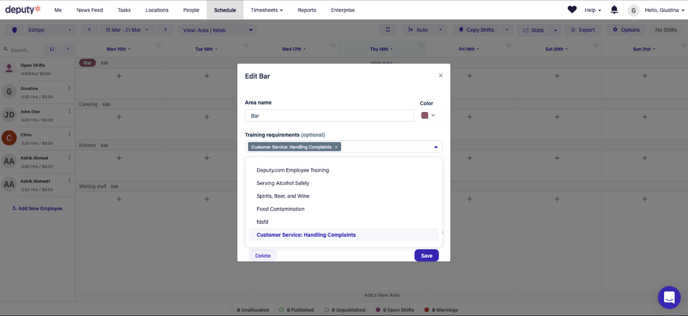
Once a course is published in EdApp, it will appear in Deputy as a training module.
You have the option of setting the course as a training requirement for specific areas such as the bar. By doing this, you can set the courses as a prerequisite to employees being scheduled for shifts in this area.
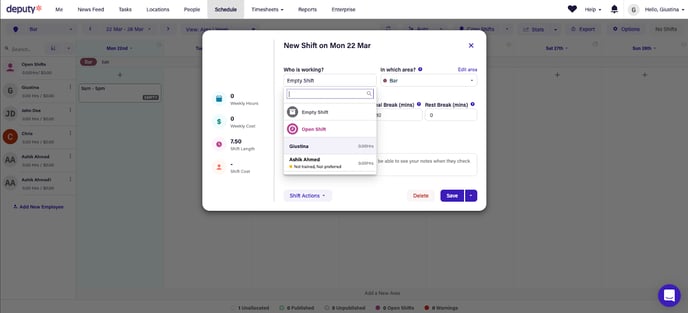
When employees complete courses in EdApp, the completion record will automatically flow through to Deputy.
If the course has been set as a training requirement for an area, then you will be able to view what employees have completed the required training when scheduling the shift.
If employees are removed in Deputy, they will automatically be archived in EdApp
Importing Custom Fields
In addition to syncing users from Deputy, the integration also supports the option to import Custom Fields if you have them configured in Deputy. Setting up Custom Fields in EdApp will give you the option to create Dynamic User Groups which will automate group assignments and make managing course assignments a breeze.
Custom Fields are imported from Deputy as long as the name of the Custom Field (API name field in Deputy) is exactly the same both in Deputy as well as in EdApp.
To access custom fields in Deputy click on the Enterprise tab then choose Custom Fields to access a detailed view

Now we can create the matching Custom Fields in EdApp following this guide complete the process. This will now keep the Custom Fields in sync across the two platforms.
- position
- preferredareas
- mainlocation