Registration information can be a critical element to help you identify your users and ensure they can get the full experience of using some of our great features like leaderboards, discussions, assignments, and analytics.
Registration information can only be collected when using invite links or codes.
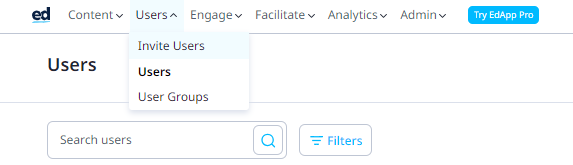
All registration setup can be found under the "Invite Users" section of the "Users" tab and the ‘Settings’ page within that.
Enable the registration fields of your choice:
1. Account
3. Location
1. Account fields include email and password, these are unclickable as they are default to allow a user to sign up with an account on the system. This means that they will always be required to sign up.

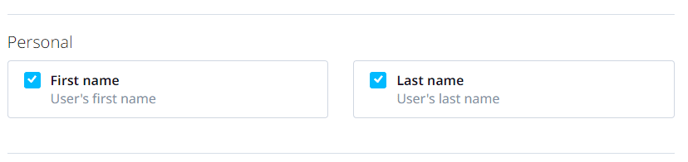
2. Personal fields include first name and last name, these are optional fields for the admin to include but will be mandatory for the learner to fill out. These will be displayed on leaderboards, discussions, assignments, and other features on EdApp.
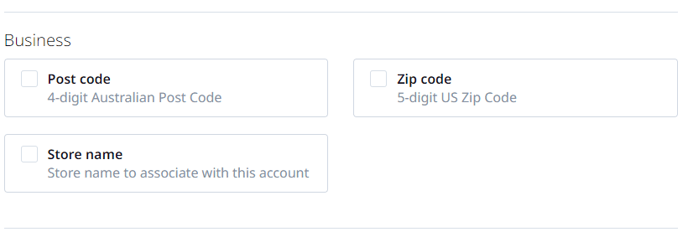
3. Business fields include Postcode (currently limited to Australia only), Zip code (currently limited to US only), and Store name. These are all optional fields for the admin to include but will be mandatory for the learner to fill out.
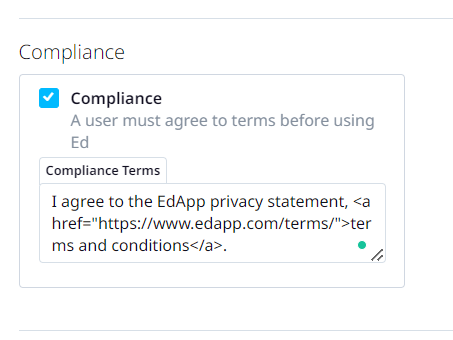
4. Compliance fields allow admins to make learners agree to terms before using EdApp. Links can be put into this box to link the learner to the relevant terms and conditions they are agreeing to.
5. Other fields these are slightly different from the pre-made fields that we found higher up on this page. In this area, we can collect information from a registration field of your choosing. This will be a free text box that the user can write their information in. These are all optional fields for the admin to include but will be mandatory for the learner to fill out.

They first need to be set up in app settings which can be found in the drop-down menu in the top right-hand corner of your screen.
Then go to the "more" tab.
Here you will find a section called "User Custom Fields"
Use the "+" button in the top right of this section to create a new custom field e.g. Job Title or Department. We recommend copying what you put into the "Field Label" box in the "Field Description" box.
You can also choose whether these custom fields will be displayed for the users in discussions and assignments.
Make sure you click save on this page before returning to the "Invite Users" page and navigating to Settings.
Once you go back to the "Settings" page you can then enable the boxes to appear for the learner upon sign-up.