Contents
Last updated 28 November 2023
Available on DIY, Managed, and Enterprise plans.
Why set up single sign-on?
Single sign-on (SSO) allows EdApp to identify users through an external Identity Provider (IDP).
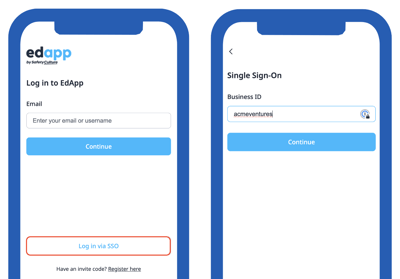
Instead of manually registering learners, users are directed to their company identity portal, fill in their company login details, and are redirected back to EdApp. This enables a user to log in to multiple systems via a single portal. On EdApp's side, a user is internally created to match the user's details sent back from the IDP.
Providers
We provide support for SAML 2.0 based SSO integrations.
This includes:
- OneLogin
- Salesforce
- Auth0
- Ping Identity
- All other systems that use SAML 2.0.
Set-up instructions
Ensure the person setting up SSO has admin privileges to both EdApp and the SSO provider.
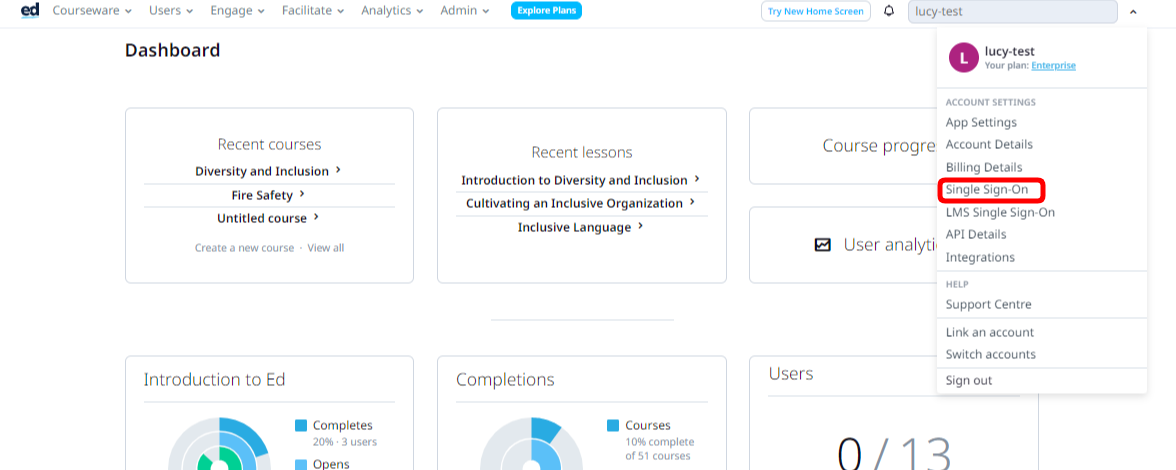
Step 1: Go to the EdApp LMS (admin.edapp.com) with the ‘Single Sign-On’ button in the top right.
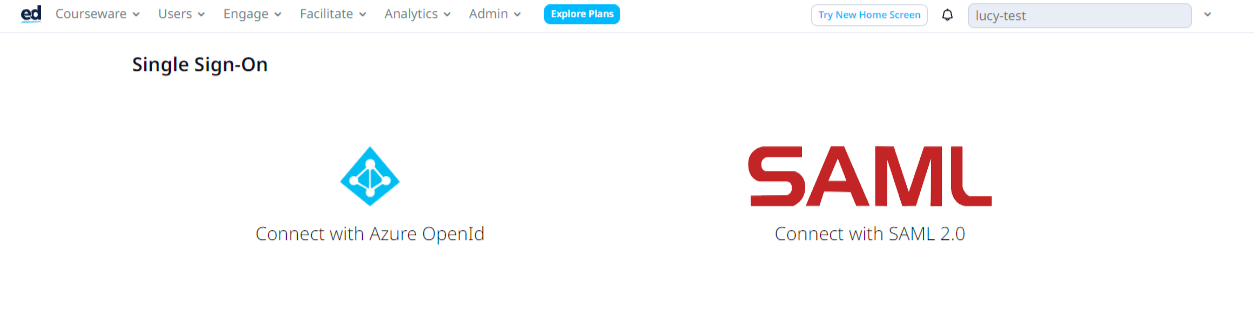
Step 2: Click on the Connect with SAML
Step 3: Once you have a SAML IDP set up, you can fill in the relevant details on this page, which will enable SSO for your users.
If you'd like to set up domain recognition, reach out to your customer success manager with the email domain you wish to set up. This must be unique to your company.
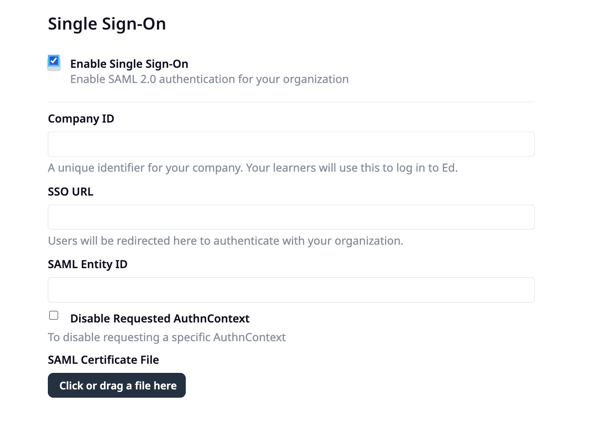
Company ID/ Business ID
The company ID (on the admin portal) or business ID (on the learner's app) can be anything you want. Company ID and business ID are interchangeable terms on EdApp.
You must ensure this matches what you've used in your specific IDP, i.e. if you use "acmeventures" in the company ID in EdApp, make sure it's also "acmeventures" in your SSO provider.
It can used by your learners at the login page, so it is important to choose a company ID that is easy to remember for your learners.
The company ID is also used to identify your account in EdApp when your IDP calls our API to authenticate the user. The ACS (Reply) URL field in your IDP specifies the endpoint in EdApp. The format in your IDP is https://api.edapp.com/sso-saml-callback/{COMPANY-ID}
If your company ID in EdApp is "acmeventures", your ACS (Reply) URL in your IDP would be https://api.edapp.com/sso-saml-callback/acmeventures
SSO URL
This URL will be available in your IDP under the ‘Login URL’ field.
Below is an example from Azure.

SAML Entity ID
Your entity ID must match the entity ID for this configuration in your IDP e.g you can use https://web.edapp.com/{companyID}.
You can replace company ID above with your organization's company ID e.g. https://web.edapp.com/acmeventures
SAML Certificate file
Depending on your IDP, you may need to add a certificate file for your SSO to function. This should be provided by your IDP. Consider adding a certificate file even if your IDP doesn’t enforce it to enhance the security of your application.
.png?width=688&height=166&name=image%20(53).png)
Reminder: LMS SSO works ONLY with .cer, .crt and .pem file certificates. If the certificate you downloaded is not a .cer, .crt or .pem file you may need to change its file extension.
User Synchronization
Users are created in EdApp as soon as they log in to our system using SSO. In the event you wish to create the users in EdApp before they log in with SSO, that can be done through our LMS, SCIM with Okta and with our public API. If a user exists in the system with the same email address as the user signing in through SSO, EdApp will treat them as the same user.
Sync employee information with custom fields
You can send additional information about your learners via custom fields including job title, first name, last name, active status or any custom fields you'd like.
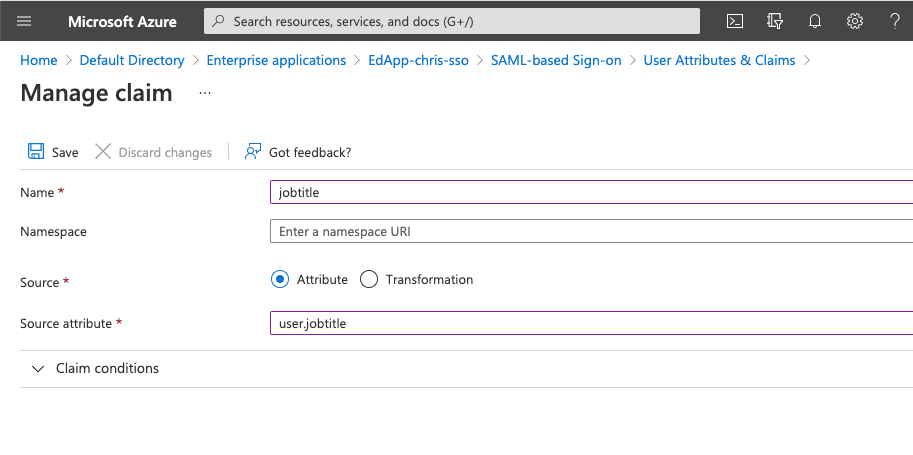
You'll need to map your "Claims" in the IDP to the "Custom fields" in EdApp.
The name of the claim needs to match the custom field.
It is important to leave the "namespace" field in your IDP empty.
Below is an example in Azure AD for a claim that populates the jobtitle field.
 The next step is to create the custom field in EdApp via the admin portal:
https://admin.edapp.com/app-settings#panel-user-custom-fields
In EdApp, this would look like the below:
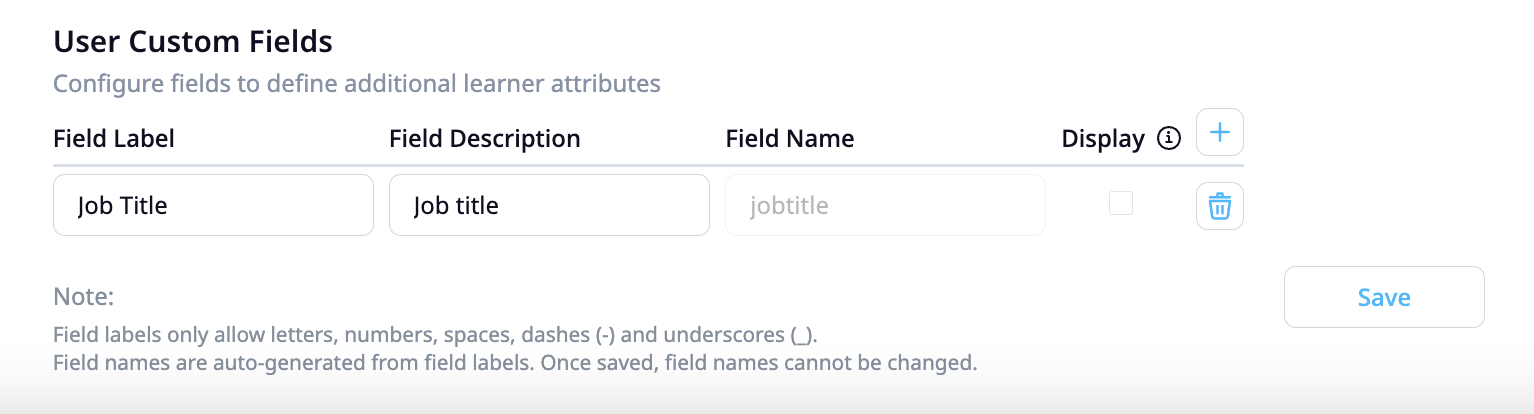
The fieldname should match the claim in the IDP.
Emails, first and last names are already available in the EdApp system. Ensure your IDP fields match the following:
- firstname (configured in invite settings)
- lastname (configured in invite settings)
This custom field data can then be used to automate user management through dynamic user groups. You can create criteria based rules on dynamic user groups to automatically assign learners to courses based on their information. Read more on dynamic user groups here.
Single Log Out
In EdApp we support single log out where the user is logged out of EdApp automatically when they log out of your organization's IDP. In your IDP, the logout URL should be like:
https://api.edapp.com/sso-logout/{COMPANY-ID}
If you log out of EdApp, this does not log you out of the IDP.