- Duplicate your Courseware
- Edit your Courseware
- Edit the Lesson Content
- Publish your Courseware
- Share your Courseware
There's no need to reinvent the wheel. If you'd like to build off existing material, (or any courses for that matter), it's easy to duplicate, copy and edit the material in minutes.
Follow the steps below to duplicate, edit, and share your new course.
1. Duplicate your courseware
Head to the courses/content page and select the three dots on the top right-hand corner of the course to open 3 options: ''Preview'', ''Duplicate'', and ''Delete''.
Click and select ''Duplicate'' on the choices.
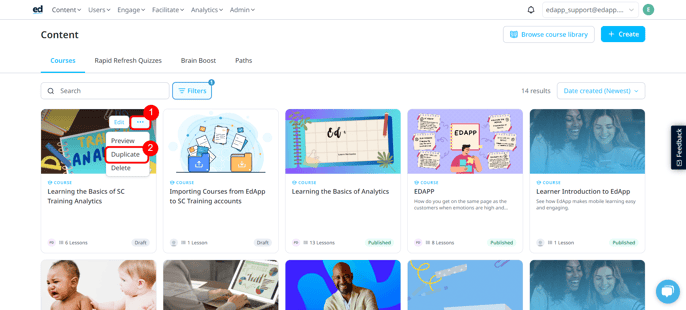
Once you’ve duplicated it, you'll see a new copy appear in your account, which you can then open and edit.
Learn about other ways to duplicate a course in this article here.
2. Edit your courseware
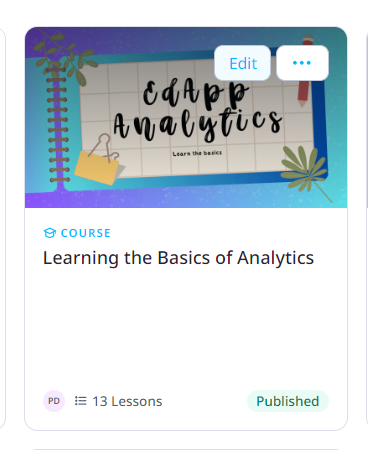
Click the edit button on the course to open up the course settings page for a course.
This will open up the course settings page as you see below. 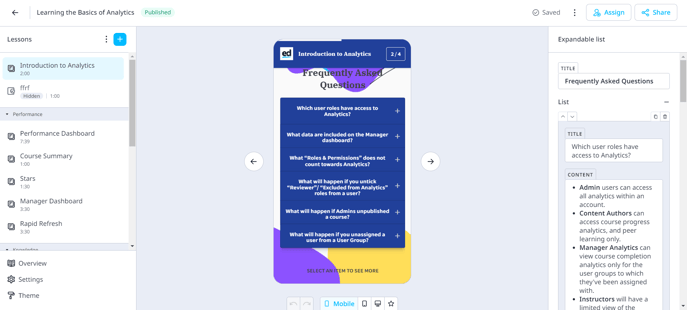
- This is where you can make all course-level configuration changes. This includes changing the name, branding, and access rules. This is where you can also add new lessons, or other lesson types like Standard, AI Lesson, Discussions, Assignments, Practical Assessment, Meetings Feature, and more.
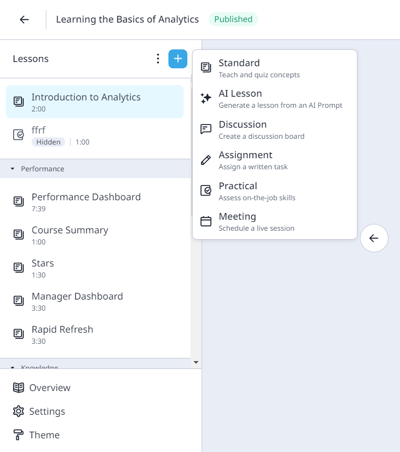
- Hover your mouse to the lesson, and then click the 3 dots to open up more settings on a lesson level, for that particular lesson.
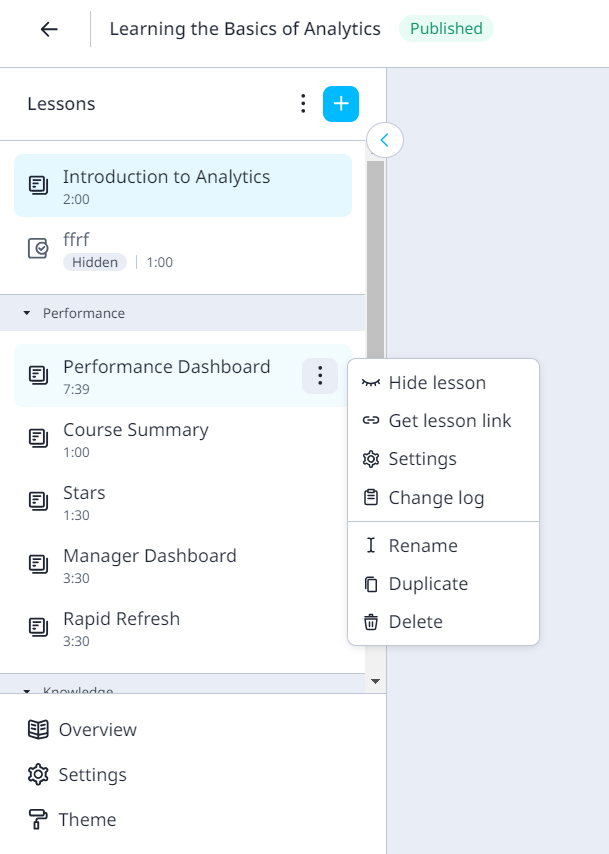
This is where you can make edits to the lesson name, description, access rules, and more on an individual lesson level. Learn more about lesson-level configurations here.
3. Edit the lesson content
Now that you've clicked a specific lesson, you'll be taken to the creator tool.
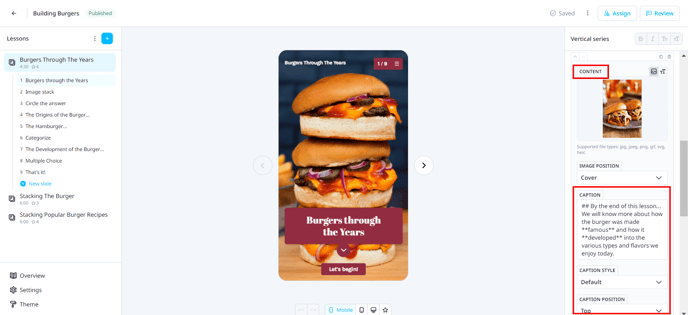
- In the center, you will see the configuration panel. This is where you can make all edits to the texts/image boxes. The right-hand slide navigation bar will show you the templates being used, and which template you are making edits on. You can also rearrange templates by selecting and dragging them around. Learn how to move, and duplicate slides here.
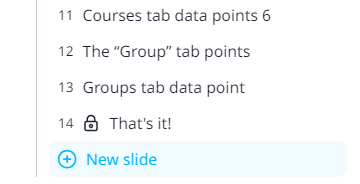
- To add a new slide to your lesson, simply select the light blue ‘New slide’ button on the bottom right-hand side of the page to choose from one of our 80 templates available to add new content to your lesson.
4. Publish your courseware
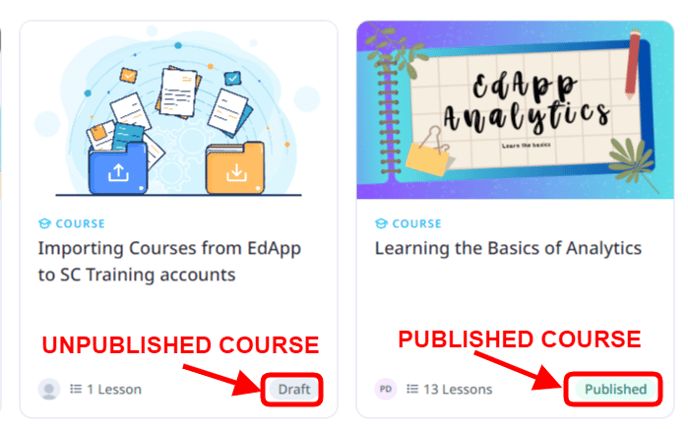
Publish your course (Learn how to Publish your course/s here: Publish a Course) Once published, it will light up blue and say 'Published' on the main course page to show you that it’s been published and is ready to be shared with the learners.
5. Share your courseware
Share your new course with your colleagues! Invite your team to see the course using the below options.
Create an individual user, invite a user to EdApp with an invite link or code and invite a user to EdApp via email / bulk upload.