Contents
Theme - color scheme, backgrounds, logos
Formatting and styling text
Changing Font Size
Applying Bold, Italics, or Underline
Adding Links
Creating Bulleted or Numbered Lists
Aligning Text
AI Text Editing
Keyboard Shortcuts
Code View
Where do I start?
There are three ways to create content!
1. Import content from the course library
The content in the library is FREE. FREE I tell you.
Use our content off the shelf to deploy training immediately or use it as a 'template' for design inspiration.

2. Convert your PowerPoint
Use our PPT conversion feature by going to content > courses and clicking on 'Convert PPT > BETA Immediate Conversion'.
When you click 'Edit Content', it'll take you to our creator tool to make more adjustments.
3. Create a course from scratch
EdApp lessons sit within courses. Courses are normally topics e.g. Fire Safety or Effective Communication. Lessons sit within courses. Slides make up a lesson that provides information and questions on the subtopic. Common templates include Content (Words, Images, Video), Knowledge Checks, Games, and Surveys.
Keep lessons to 10-15 slides, that's about 2-5 minutes of learning.
We want the information to be bite-sized for the learner!
Go to 'Courseware' > 'Courses' > 'Create Course' > 'Create Lesson' > 'Edit Content'

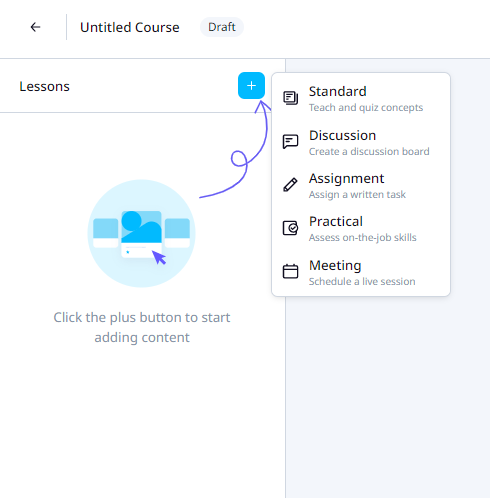
You will be given the option to create a standard lesson, Discussion, Assignment, or Meeting. Select 'lesson' for now!
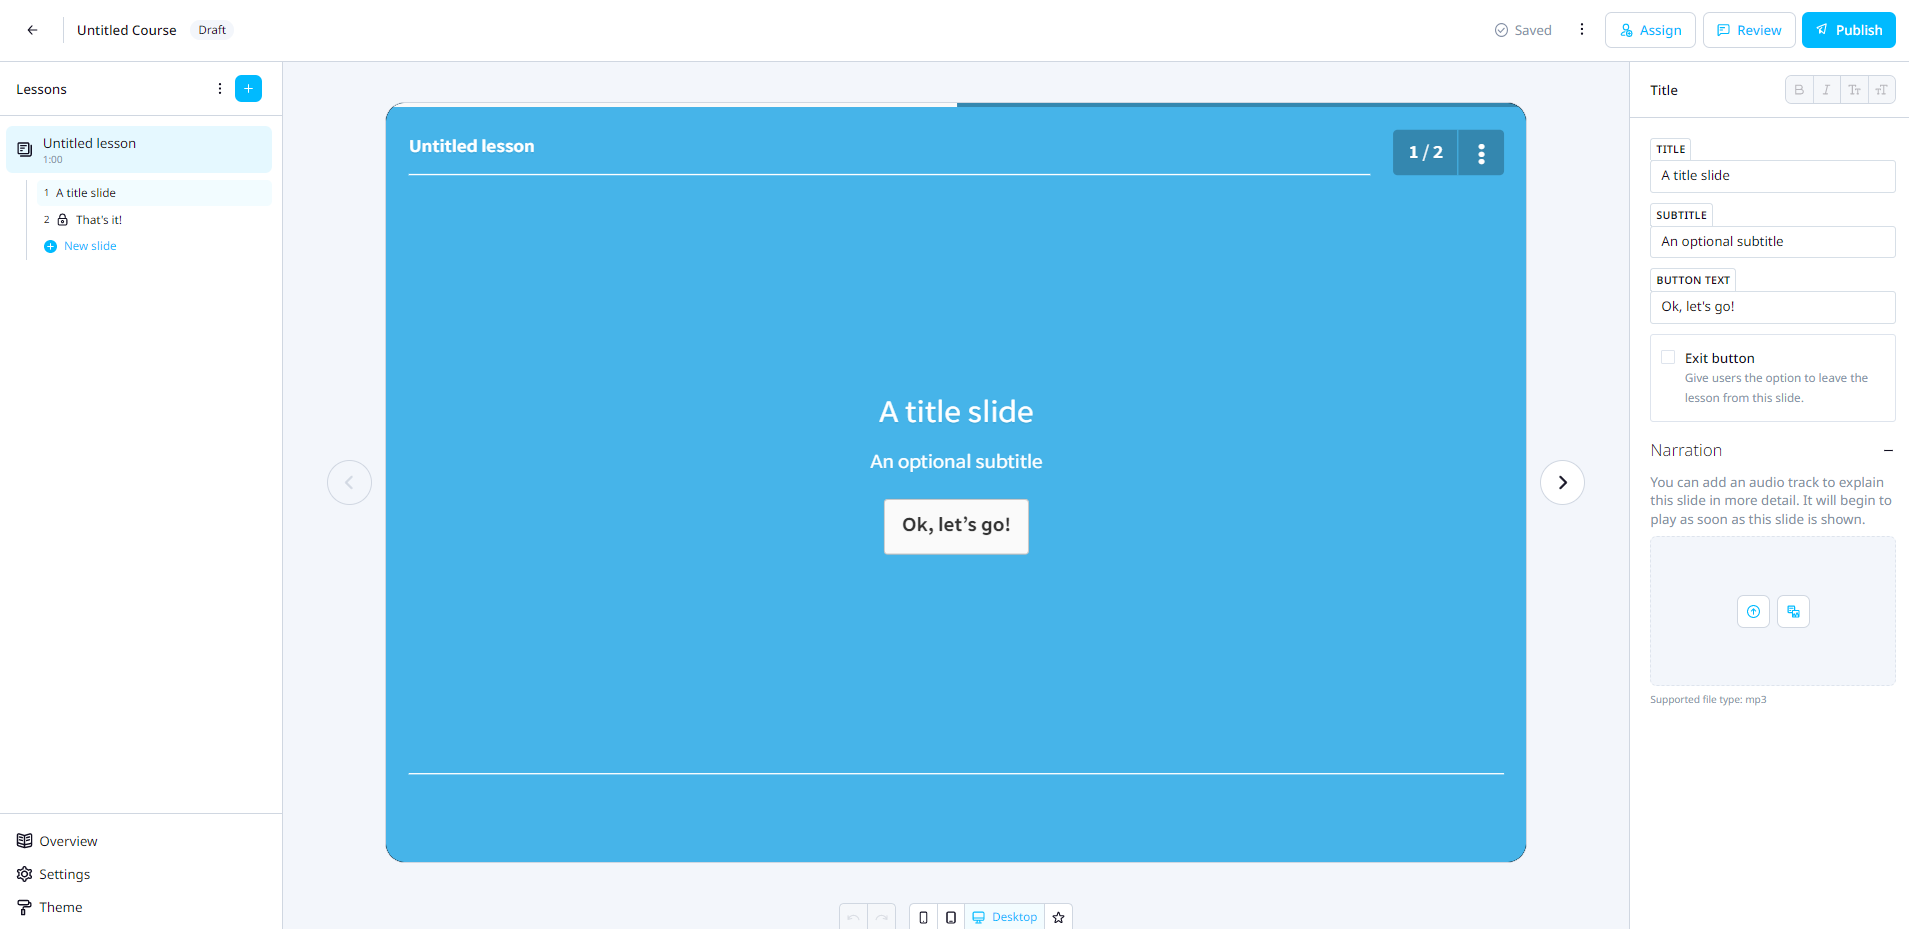
Creator Tool
The creator tool has three sections:
1. Preview shows what the learner would see on their app. It changes in real time as the Admin updates the content panel.
2. Content is where authors edit the content of templates. Add text and multiple media types. Templates are customizable and give admins the flexibility to create all kinds of content!
3. Navigation allows you to rearrange/delete/add templates in the lesson.
Upon saving, if the lesson/course is published, updates are made instantaneously for your assigned learners
Adding Content
Step 1: Click 'add a new slide' and choose a template
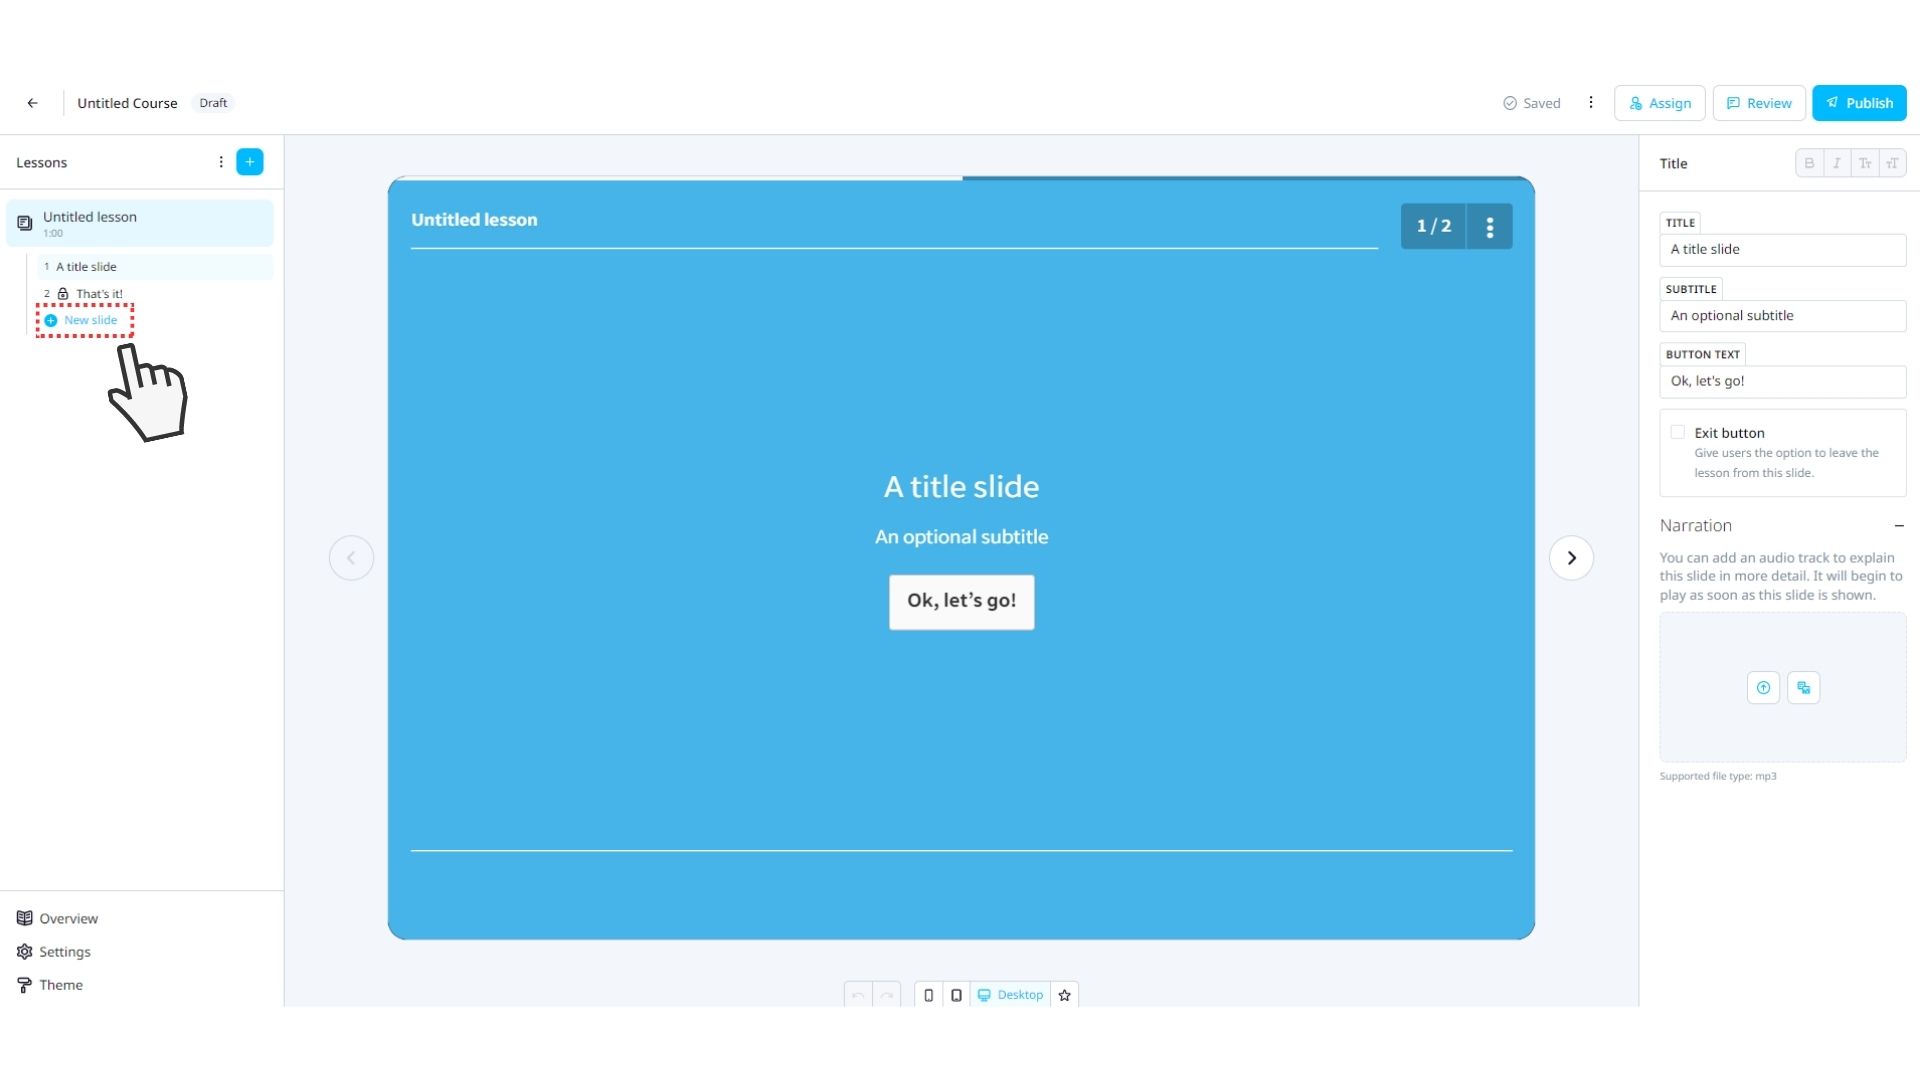
How to add Slides
To add new slides to your lessons, you'll simply have to hover in the specific in-between lesson slides, click the "plus symbol" ( + ), to add a new slide, and select a template.
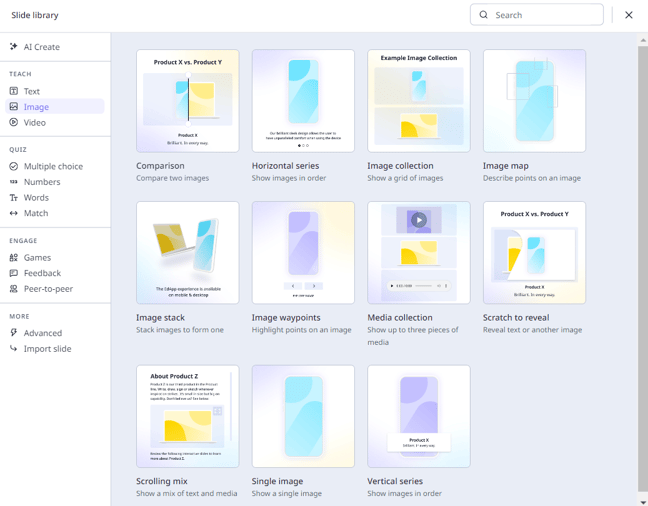
There are 12 types of templates:
TEACH
Text
Image
Video
QUIZ
Multiple Choice
Numbers
Words
Match
ENGAGE
Games
Feedback
Peer-to-Peer
MORE
Advanced
Import Slide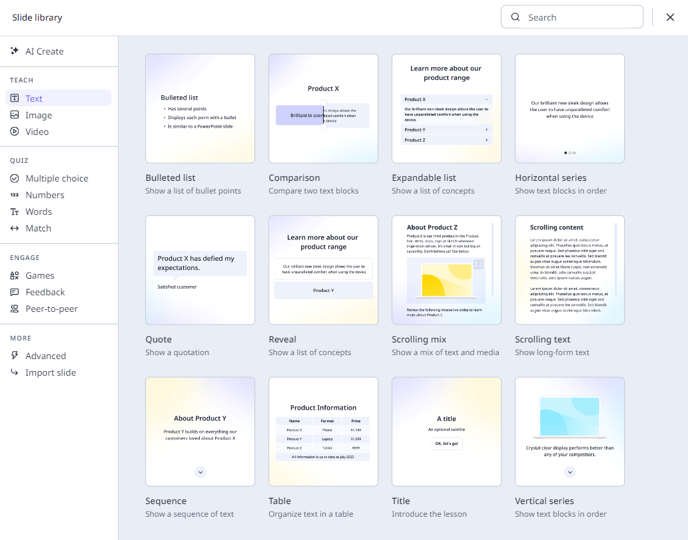
Try using an interactive slide every 2-3 content slides to test knowledge and add interactivity
Step 2: Add all content that is relevant to your lesson
Use a range of images, GIFs, Videos, and Narration to keep the learner engaged.
Branding Content
Course Image
You can edit the Course Image with the Title and Course Description when you add a new course.
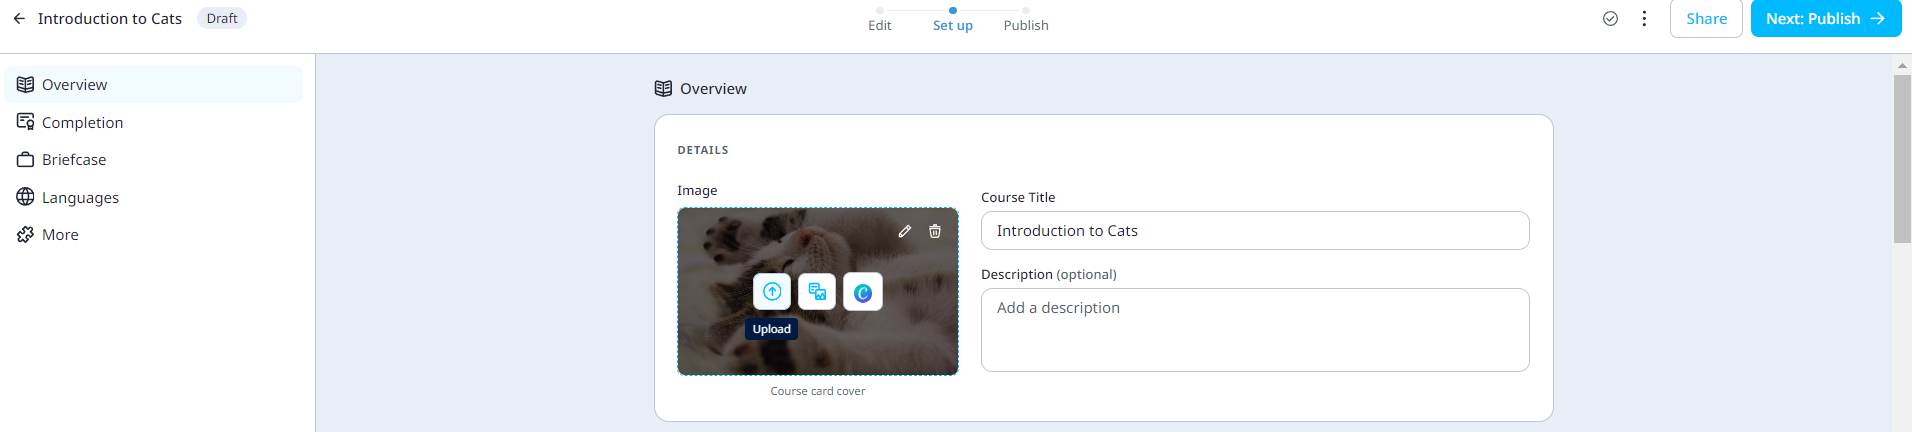
Keep the image simple! The course title sits on top of the image.
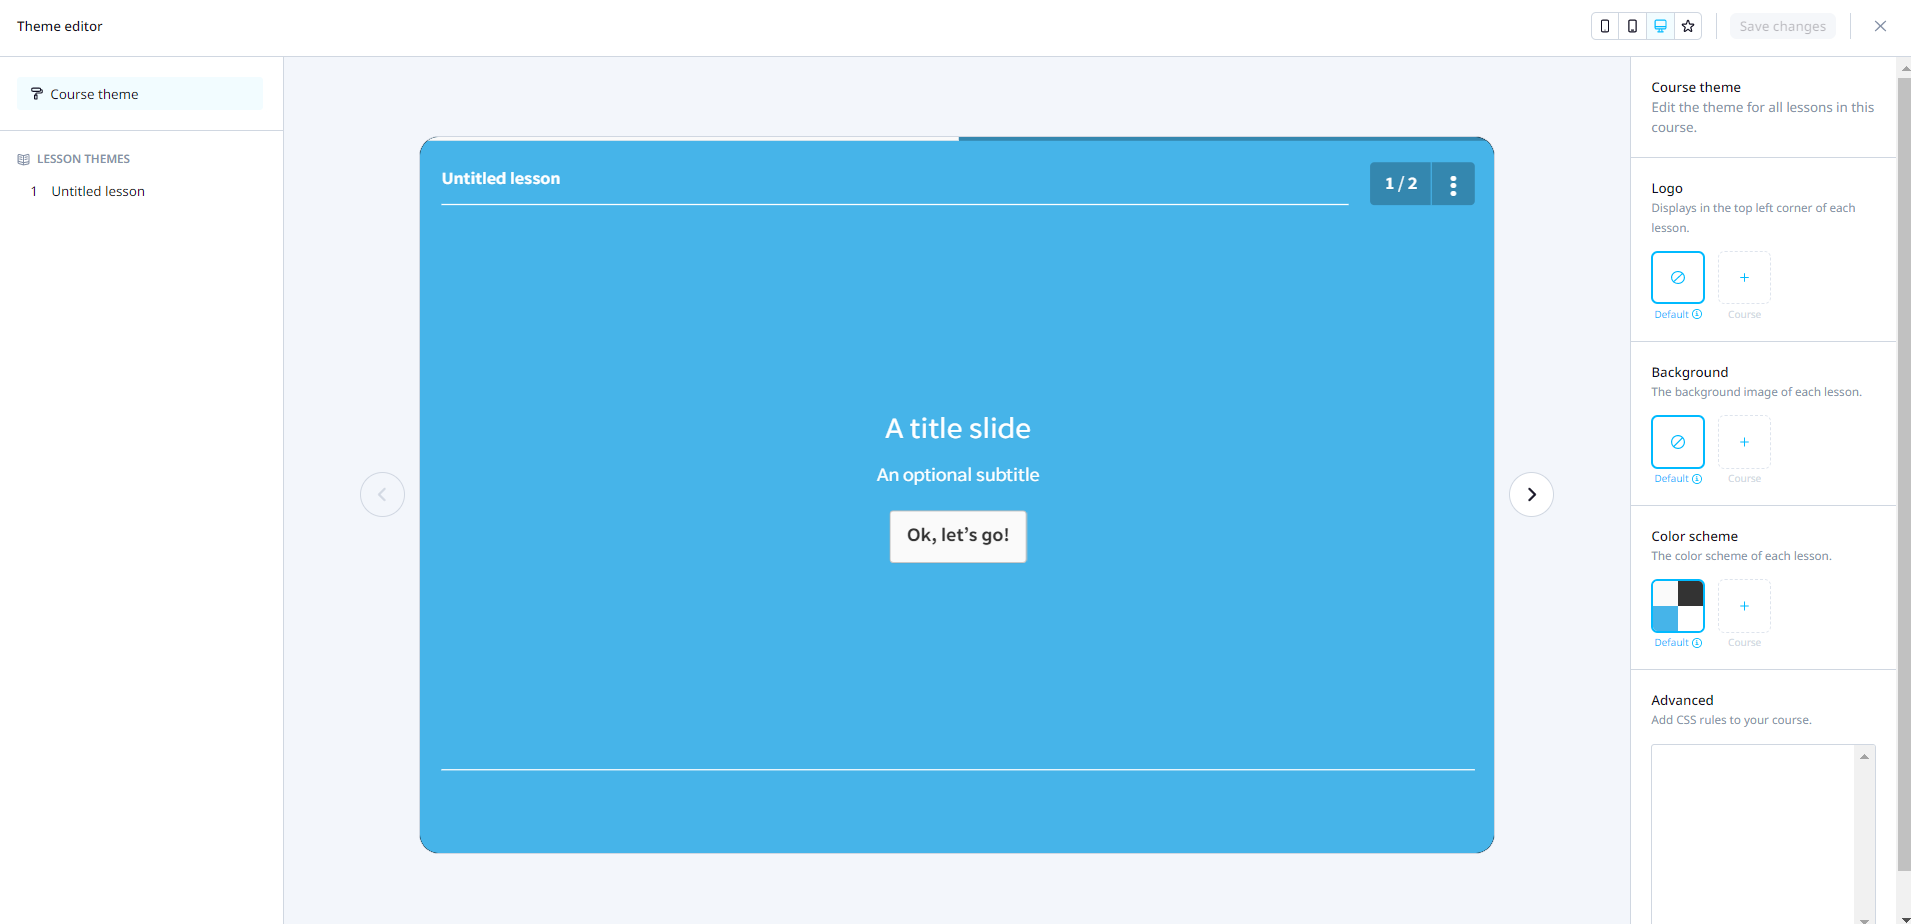
Theme
Change the color scheme, and add a background image or logo by clicking on 'Theme' within the lesson.
CSS & Markdowns
CSS is a coding language. With this, you can change the buttons (and other stuff) to be more tailored. It's pretty advanced, but have a look at this guide if you're interested.
Markdowns are the tools to make your text bold, italics, underlined, etc.
For a cheat sheet, see this guide.
We've been told that EdApp is easy to pick up but hard to master. This should be enough to get ya going! If you think you've mastered the basics, feel free to look around our support site for other things you can do.
Formatting and styling text
To style and format your text in the EdApp creator tool, you can use our Rich Text Editor (RTE) toolbar.
The RTE toolbar appears when you highlight the text you wish to format and you are given a number of styling and formatting options depending on the type of text input field you are editing.
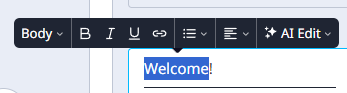
The following styling and formatting functions are available:
Changing Font Size:
For better readability and visual hierarchy, you can modify the font size of your text. Select the text and choose the appropriate font size from the dropdown menu in the RTE toolbar.
Applying Bold, Italics, or Underline:
To emphasize specific text, highlight the desired portion and use the bold, italics, or underline buttons in the RTE toolbar. These options help add emphasis and clarity to your content.
Adding Links:
To insert a hyperlink, select the text you want to link and click on the link icon in the toolbar. A dialog box will appear, allowing you to enter the URL you want to link to .
.
Creating Bulleted or Numbered Lists:
To organize your content, use bullet points or numbered lists. Select the text you want to format, and click on the respective list style buttons in the RTE toolbar. This will help you present information in a structured and easy-to-follow manner.
Aligning Text:
To align your text, select the desired text and use the align text options in the RTE toolbar. You can choose from left align, center align, or right align.
The RTE toolbar has removed the need to rely on markdown to style and format your text.
AI Text Editing
- Rewrite: Transform dull text into engaging content with just a few clicks.
- Adjust tone: Easily switch between formal and casual tones to suit your audience.
- Extend: Quickly expand on ideas without the hassle of rewriting entire paragraphs.
- Reduce: Trim down lengthy passages to keep your content concise and impactful.
-png-1.png?width=688&height=625&name=image%20(1)-png-1.png)
At the moment, this feature performs best with English text. We're looking at improving its performance for other languages and also ensuring that the length of the text remains consistent when users choose to rewrite or adjust the tone.
Keyboard Shortcuts
In addition to the RTE toolbar, users can use keyboard shortcuts to perform text formatting actions quickly. These shortcuts provide an efficient way to enhance your content without relying solely on the toolbar. Here are some commonly used keyboard shortcuts:
Ctrl/Cmd + B: Apply bold formatting to selected text.
Ctrl/Cmd + I: Italicize the selected text.
Ctrl/Cmd + U: Underline the selected text.
Ctrl/Cmd + Shift + 8: Create a bulleted list.
Ctrl/Cmd + Shift + 7: Create a numbered list.
Ctrl/Cmd + Shift + V: Paste as plain text without formatting.
These keyboard shortcuts provide a speedy alternative to accomplish text formatting tasks.
Code View
The EdApp Creator tool gives users the flexibility to switch between the RTE view and code view for the course they are editing.
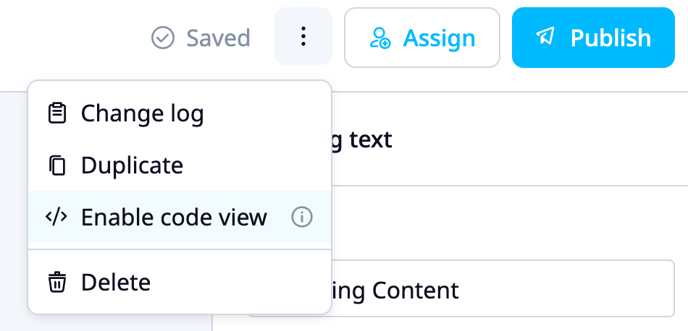
If you are an advanced user and wish to use HTML to format and style your text, you can turn on the ‘Code View’ mode by navigating to the three-dot menu in the upper right corner and selecting ‘</> Enable code view.’
By switching to code view, advanced users have the option to format and style their text using HTML directly. This allows users to leverage their expertise and have fine-grained control over the presentation of their content.
Once 'Code View' is activated for a particular course, it persists indefinitely on that user's device for that specific course until manually disabled, reverting back to the rich text editor (RTE) view
Adding 3rd Party Resources
You can attach resources to the course for the learner to reference. Here's a guide.
Adding scores
You can set minimum scores or a pass mark for a lesson. Here's a guide.